|
Making the strongest
bulkheads possible...
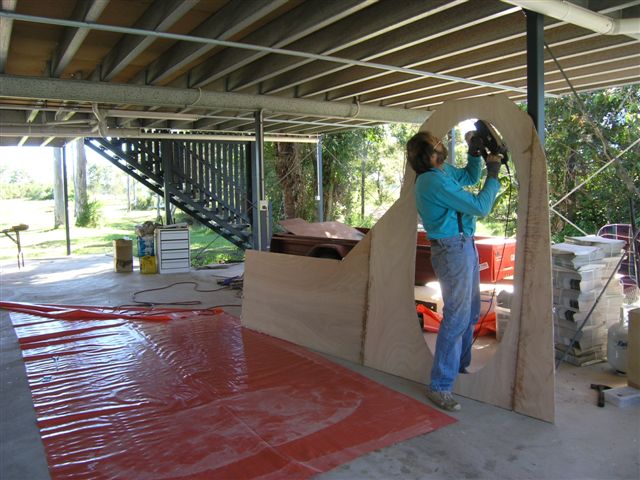
I started with the plans I had and from
them fabricated a pattern with cheap bracing ply. This was used
to trace the outline for the multiple parts and to verify the
correctness of the measurements. Only one of the bulkheads was
wrong (Back web of the back beam) but it would have been a terrible
waste of time and materials if I hadn't done it this way so,
for that reason alone, the patterns were well worth it. |
 |
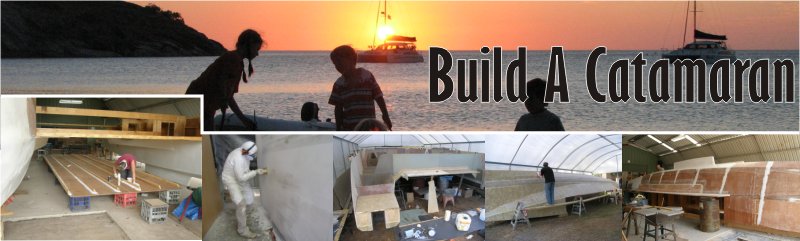
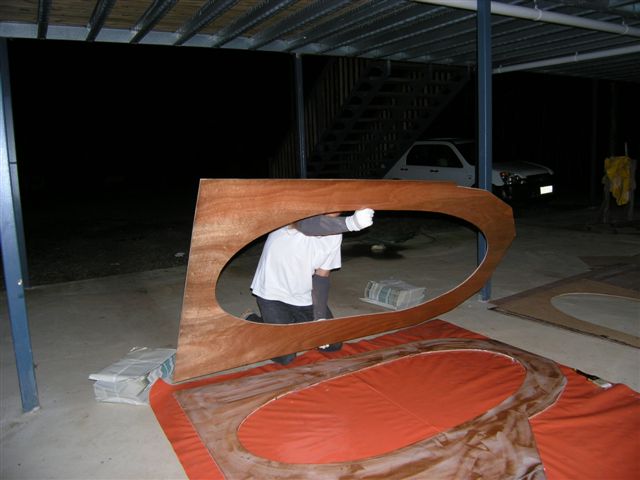
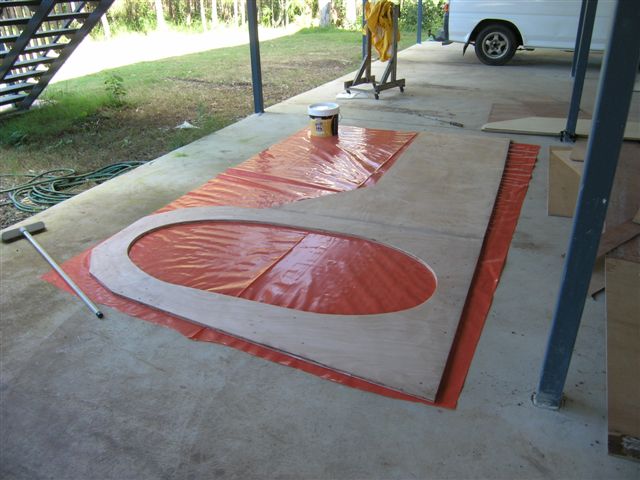
Here we go.... This is one side of my
main beam or mast bulkhead. The parts are cut from 9mm 7 ply
marine plywood. The joints are staggered! This is one
of the reasons I favoured the layered approach. I didn't like
the scarfing idea... too sloppy. I think staggered butt ends
will be stronger. The parts were all set up and coated twice
with "Bote-Cote" epoxy with their additive for penetrating
and preserving timber. I let it go until it was firm but still
a bit tacky. I never had a problem with this ply outgassing except
if it was caught in direct sunlight. This photo is near sunset
though. Took all day to set the coats of epoxy. |
 |
With about a kilo of glue mix.... |
 |
Get the edges covered.. |
 |
and joined... |
 |
all of em... |
 |
|
 |
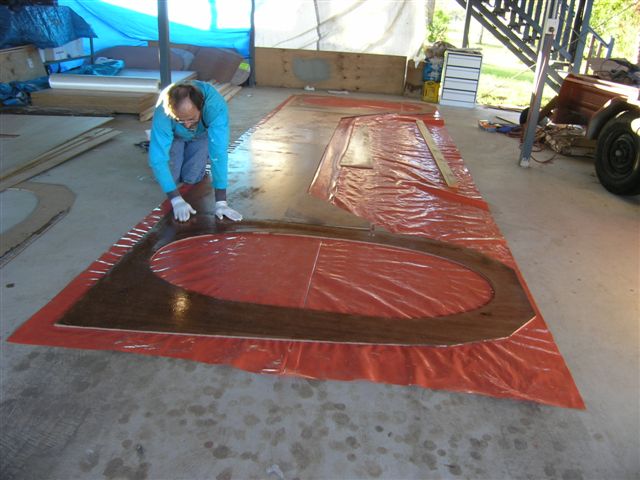
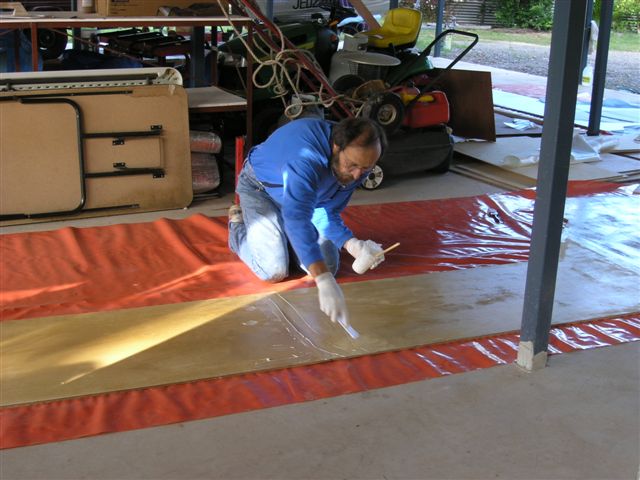
then start spreading the lot... |
 |
I used a brush and a squeegee to spread
it.. |
 |
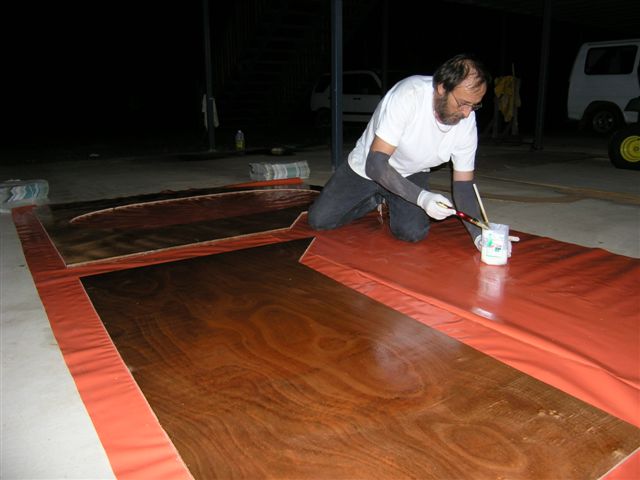
And now the other halves.. |
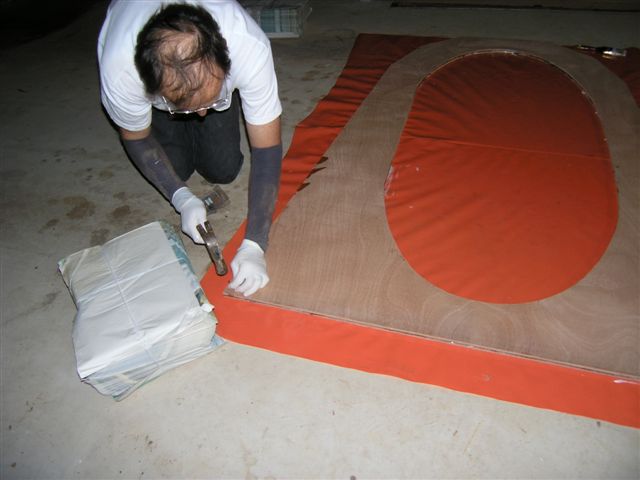 |
And start nailing in "locating
pins" when you are sure you have the panels joined securely... |
 |
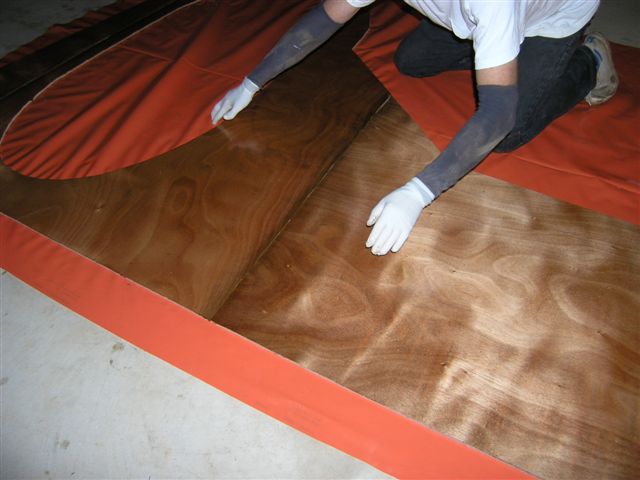
again, watch the edges... |
 |
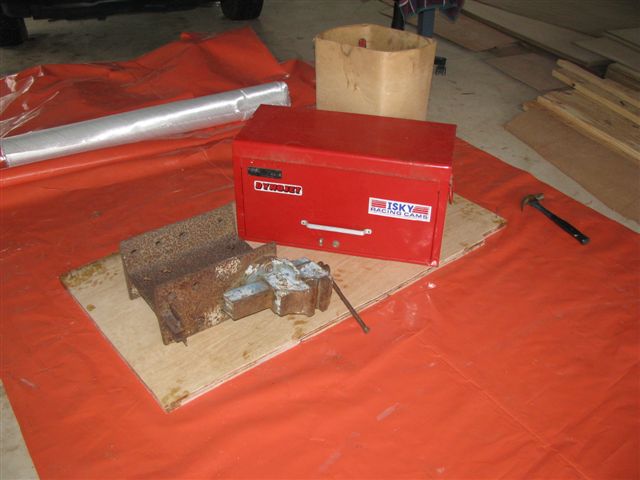
Then I threw every heavy thing in sight
and drove in a few screws as well. |
 |
This is what it looked like the next
morning. |
 |
Clean up the edges a little and the
overflow of glue by the joints. |
 |
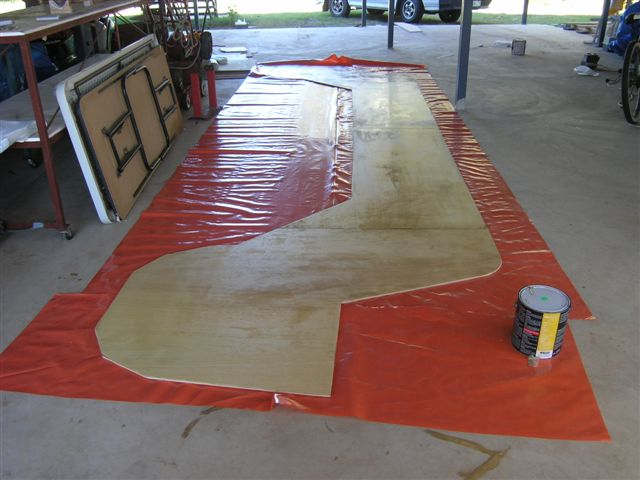
And she is ready to laminate. |
 |
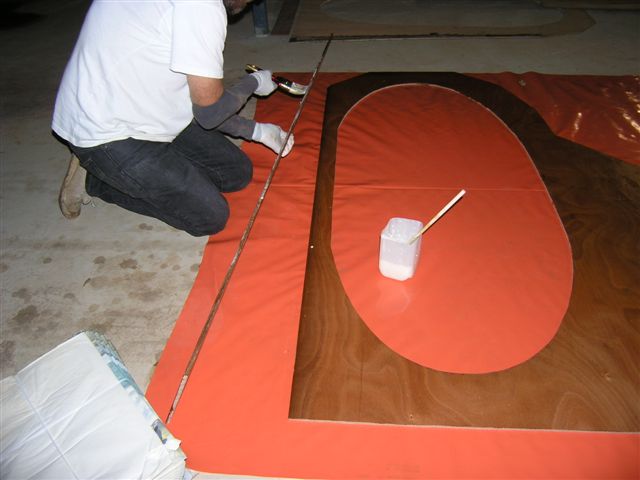
First I got all my materials ready and
cut to size. |
 |
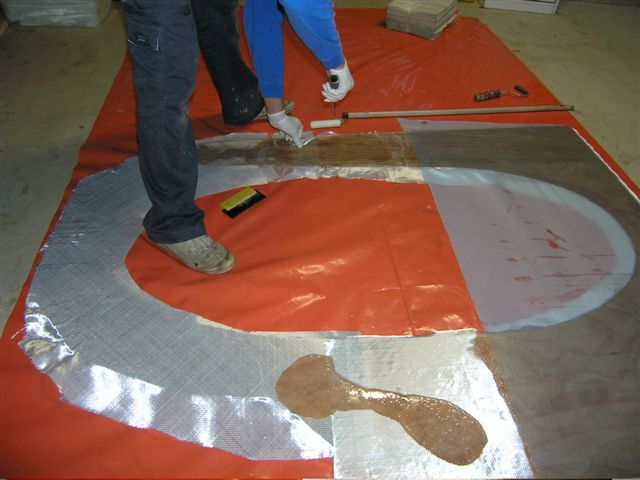
The the same routine, Boat-Cote Resin
with preservative and wait till it goes firm and start laminating. |
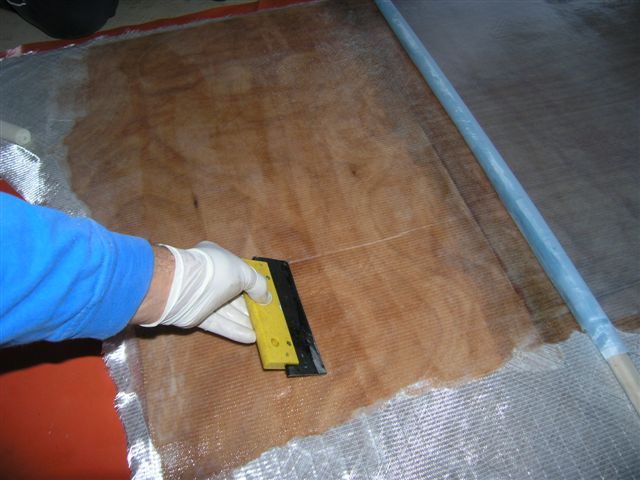 |
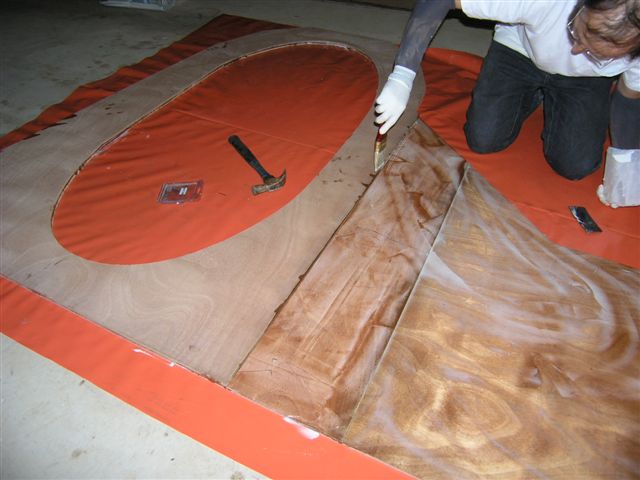
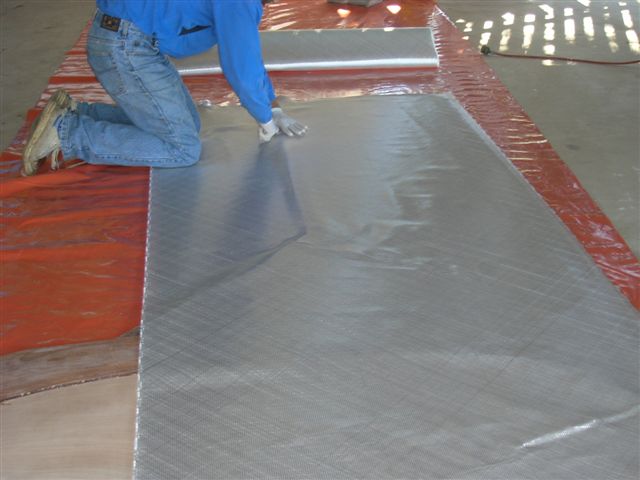
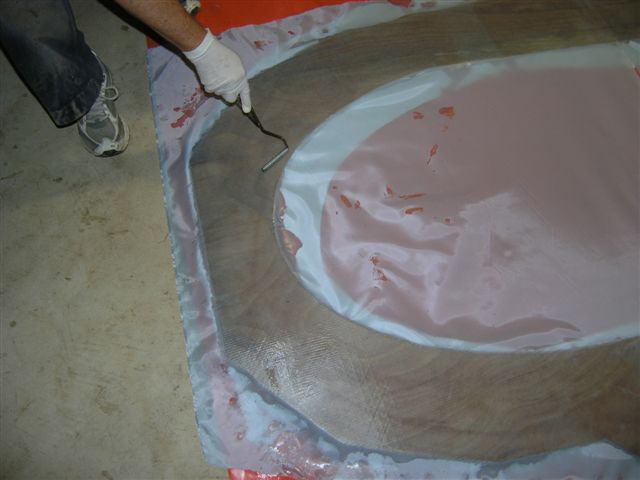
We were working with smaller batches
of resin, only about 400 grams. First wet the surface then apply
the cloth, we had it rolled up on the side, then start wetting
the top side in sections. When the cloth looks good and wet and
it has been consolidated in, all air removed, then squeegee away
any excess to the next area to be worked and while I was mixing
a new batch, Kay would be rolling on the peel ply and consolidating
over that again. |
 |
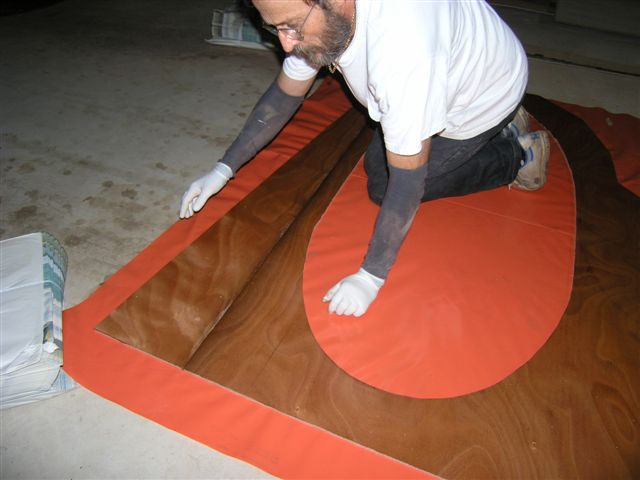
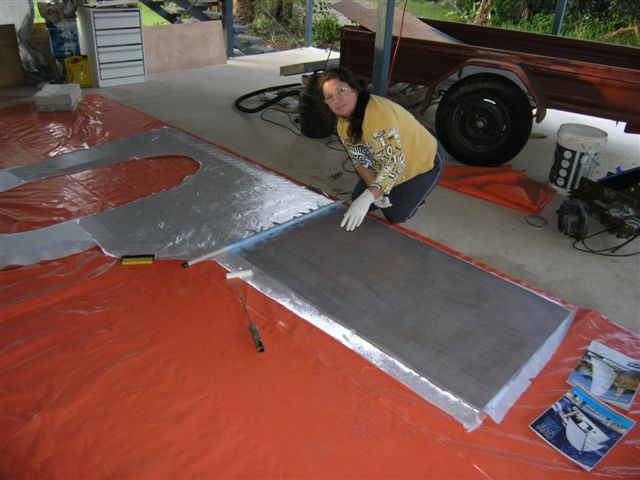
One length of peel ply done and so wetting
the lower part now. |
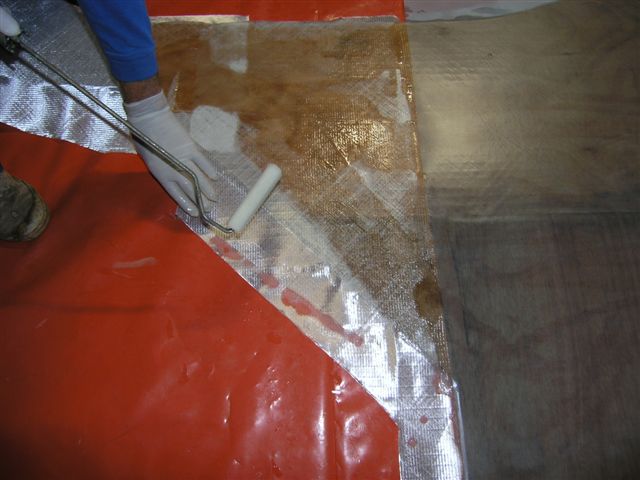 |
Watch the edges, it is real easy to
underwet those parts and the weight of the cloth can allow an
air pocket to creep under the edge. But on the other hand, what
a mess if a bunch of it runs over the edge... so be careful on
the edges. |
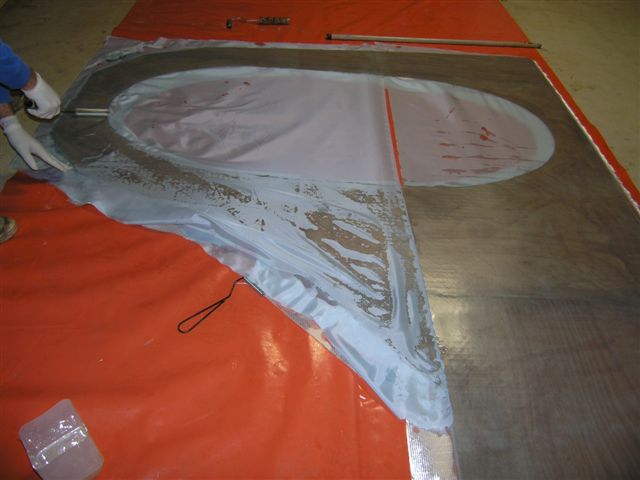 |
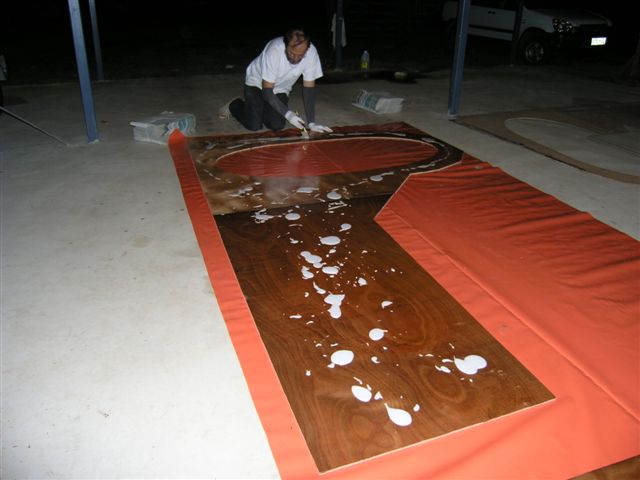
And rolling on the peel ply |
 |
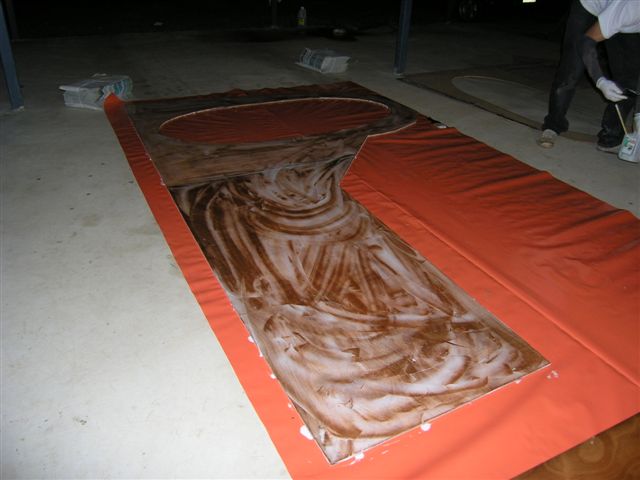
And consolidating in again... |
 |
Viola! |
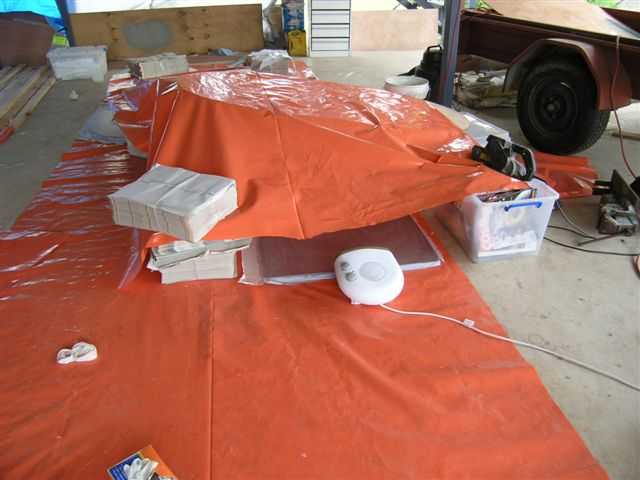 |
and if you have a cold night, which
we did, then the next morning, give her a blast of heat. |
 |
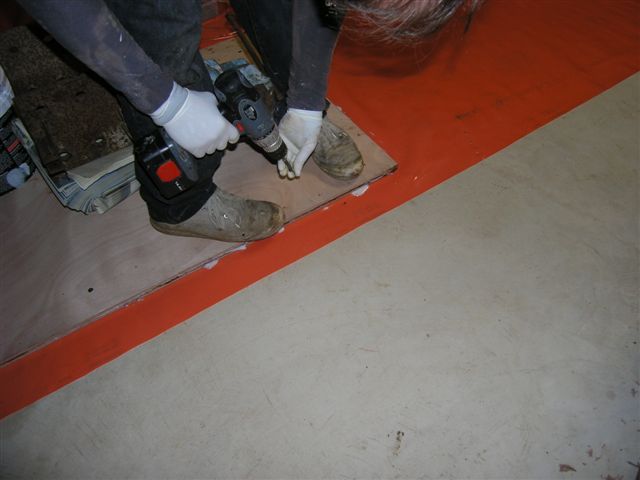
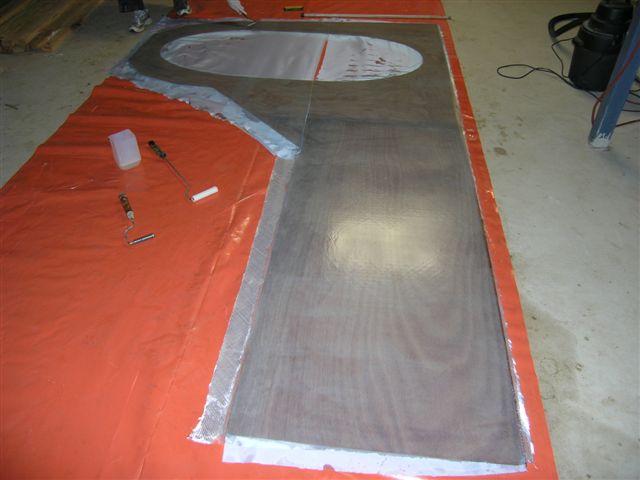
The back web of the back beam was laminated
just the same except this was just one sheet of 9mm ply. Instead
of a scarfed joint on this panels, what I did was, I taped the
other side on a butt joint. That side was going to be inside
a structure anyway.. and on the other side I cut a groove into
the line at the joint and filled it with glue mix. With the heavy
tape on the back side (750 gr tri ax) and the 450 gr DB covering
both sides end to end, I feel very confident of it's strength. |
 |
Here I am filling the grooves and the
holes left over from the screws that were used to stabilise the
joint before taping the other side. |
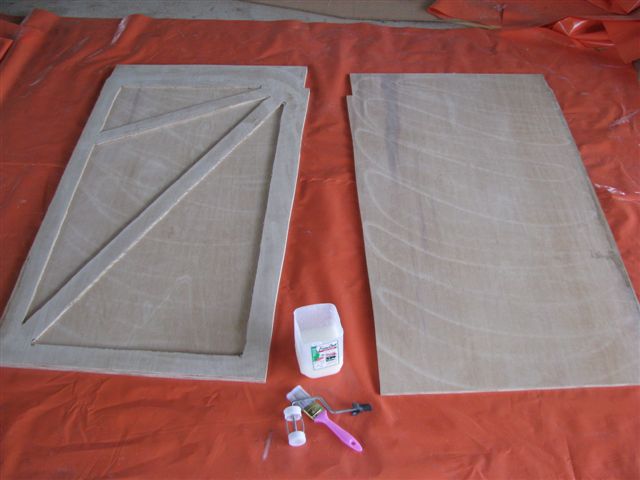 |
This is a little fore and aft bulkhead
ahead of the mast beam. I cut three pieces of 9mm ply. I relieved
most of the wood out of the centre piece, leaving bracing struts,
and covered the whole thing with Bote-Cote epoxy and treatment
and joined her all up like the others. |
 |
Nails in place to keep anything from
slipping around. Did I mention that the nails are removed after
the glue sets? Do I need to???? |
|
|
|