|
How to make
a split sander
Attention!!! Do not
use this at high speed!! It won't work well and it is not designed
to take high speed. If you do not assemble well it may be dangerous.
But if you do it as per these instructions and use it as demonstrated
you may have a very good finishing tool and for cheap. But you
are responsible for the quality of construction and appropriate
use. |
 |
This great little item is a tool
you can make that is more durable and effective than anything
you can find off the shelf and a fraction of the price of a retail
item.
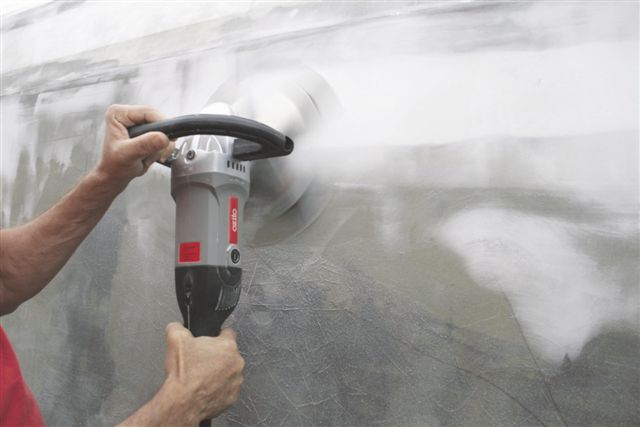
Be careful on setting your speed. This
"OZito" brand from Bunnings has a good speed selector
so you can dial it right in. If you go to slow you fry the machine.
If you go to fast you polish as much as you sand.
And light pressure does best. The machine
tends to attack high spots within the radius of the sanding surface
as you go. Taking a surface already relatively worked to a higher
state of fair. Let the machine follow the surface, never try
to load an edge to attack a spot. |
|
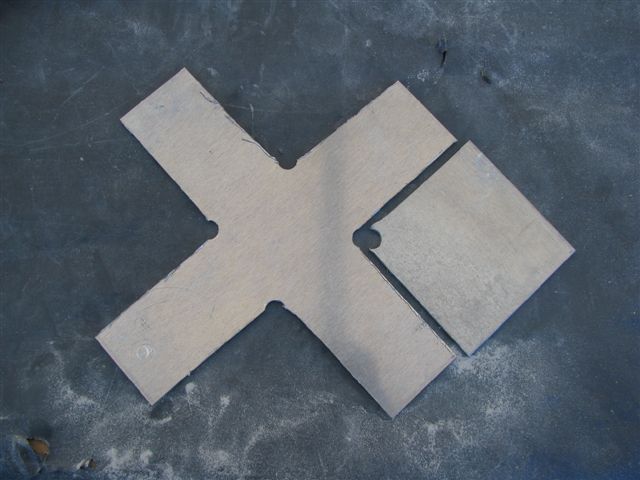
I just took a punt and got some
1/8th inch thick, little over 3mm, of some high tensile aluminium
cut into two squares by the supplier of 1 foot and 9.5 inches
respectively. These I set up for 2 inch/50mm wide bars and drilled
holes in the centres and then cut with an angle grinder the lines
into the drilled holes.
Make sure the stock you get is flat!
And don't do anything along the way to get it bent.
A thought after much use of the tool...
if you had a slightly thinner high tensile aluminium available
it might be fun to try. Maybe 2mm or similar. And I wonder how
big in diameter it could be made before running into the law
of diminishing returns? If I were building another one I would
make the blade bigger while leaving the upper frame as is. If
it worked better, leave it but if not, cut off the excess.. 16
inches would be great! |
|
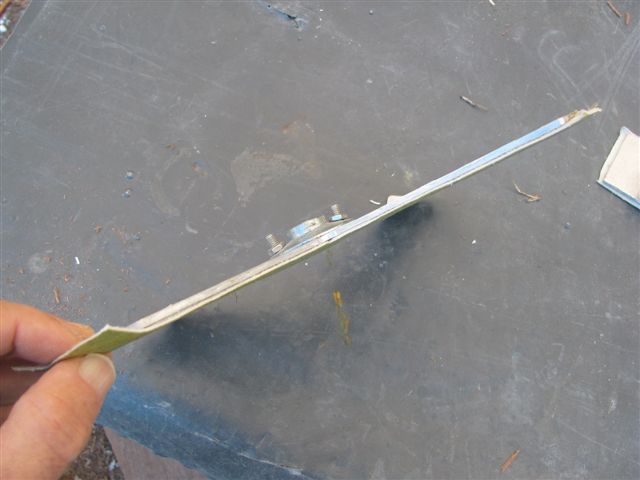
The fussy work is shaping the
top part which is the 9.5 inch piece. I just used a vise and
a big hammer and rubber mallet and carefully bent to shape using
a table surface to check how even the legs were until I got the
thing so it would sit even on all legs. Be careful not to let
the top part that fastens to your polisher get out of square
too.
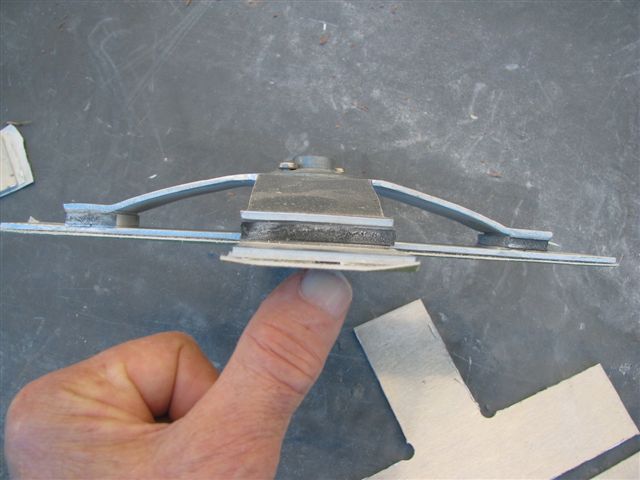
Then fasten the parts together with
a rubber mount. I used dense weather proofing strip and some
3M two sided tape to adhere it to both sides.
You want the force to be applied to
the middle of the bars to allow some give from centre. I found
this set up worked well for flat or slightly convex surfaces.
I think a lighter plate would be worth trying for the face plate.
Might conform even better to the surface. |
 |
And this is too simple. This works
for flat or concave surfaces as the metal gives a little preventing
'smilely faces' on the outside of a slight concave surface. |
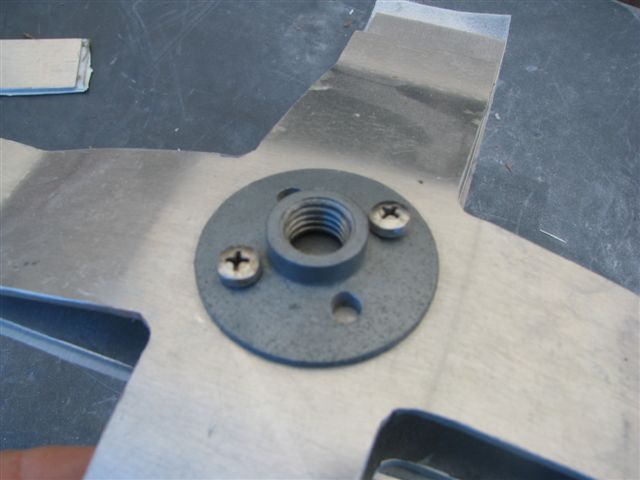 |
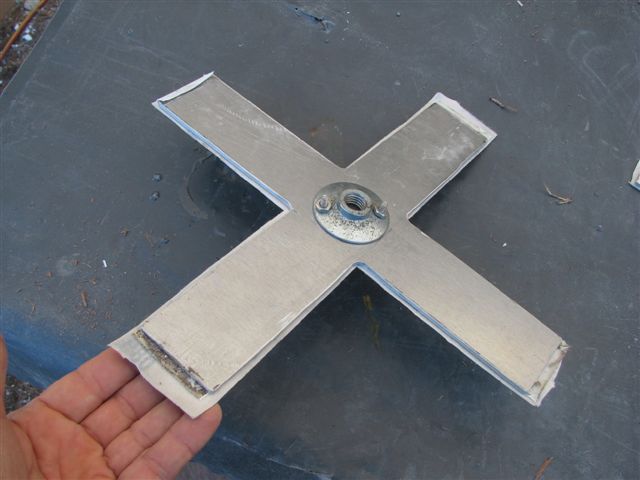
And the mounting hardware is just
the part that fastens a sanding discs to the polisher or angle
grinders. If you don't have extras, any decent hardware store
has them to sell separate. On this two part machine, I tapped
threads for the screws, on the flat one I just drilled through
and used countersunk heads.
Another note after much use.. if a universal
joint of some kind could be installed between the head and machine
it might make it easier to use for some. I have had a look at
a user who had trouble with the smilely faces and it was lack
of control .. operator error. He wasn't letting the head walk
freely which also made it shudder. There is a touch to it. |
 |
|
 |
To mount sandpaper, just apply some
velcro hook stuff. You can get this stuff everywhere from Bunnings
to fabric shops. The sandpaper is easy to get in fuzzy backed
and hardly more expensive than non-fuzzy. |