
|
We begin with a stack of panels..
insuring the panels are in proper numerical order.. very important!
There is a label on each to assist in that and also I found it
pays to keep your eyes open and double check everything. Failure
to do that cost me dear in one instance and succeeding at being
alert saved me on another. More below on that. Notice the shapes
revealed in the routing. There is a small bulkhead at lower left. |

|
The press comes from ATL and it's
use is incorporated into the price of your panel purchase. The
press surfaces are heated by water that circulates through the
press heads. It needs several hours to warm up. Overnight is
good. I set up a table to prep
one panel whilst the other is in the "Z" press. After
squirting the glue on both edges I spread with a paint brush
as well. |

|
Next panel ready to be flipped over
to match the other panel. |

|
Then push and wiggle side to side
to evacuate any air and .... |

|
check alignment by the edge and...
I found out later, keep an eye on the routed lines as well. Make
sure those lines match as well as the edge. Those are Teflon
coated press surfaces but when they get used a bit a spray of
silicone does wonders. |

|
Then pump the hydraulic press to
about 800lbs on the gauge and allow about one minute for every
mm of panel thickness. |

|
Whilst the previous panel is in
the press I squirt glue onto the next panel after dusting off
any debris. Not everyone does, but I like to spread the glue
after squirting on with a paint brush. The glue is two part epoxy
with the container making the automatic allotment and the tip
is the mixing devise.
This is also the time when I strip off
the peel ply used as a masking surface.. see further below for
an explanation........... |

|
I used a cooking timer and when the
bell rings.. release the pump and raise the press and move the
panel forward to prepare for the next one. |

|
Keep going.. and you will see the
individual panels being revealed. Again, be careful to insure
the panels are glued in the correct order. A note here.. the
press isn't required for this job, it just makes the process
faster. The heat makes the glue go off much faster. The job can
be done with timber strips and screws to hold the lot together
whilst the glue sets or see the link above on scarfing. |

|
My first bunch of panels were full
length sections so I had a looonnngg section to push along before
I could start cutting them free. |

|
The electric saw lasted about 10
minutes before it carked it.. did most of the panels with a regular
hand saw. When sawing insure the surface facing the panel section
is flush or even concave as a high spot on the edge of a panel
will disrupt the fit when assembling. |
|
Tricks, Fixes and Problems |
 |
I had some trouble pushing and sliding
to get air out (as mentioned earlier) until there was a lot of
panels to provide some weight. Couple of clamps took care of
that. |
|
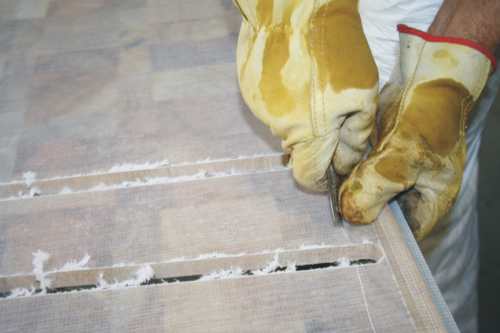
Here is the method that I was
shown by a local builder for leaving a clean joint. Start by
scoring a line in the peel ply parallel to the edge and full
length.
For those that don't know what peel
ply is... it is a nylon cloth that covers the panels to leave
a clean and workable surface. When removed it takes contaminants
with it that result from the curing of the resin and leaves a
surface that doesn't require sanding for further work. |
|
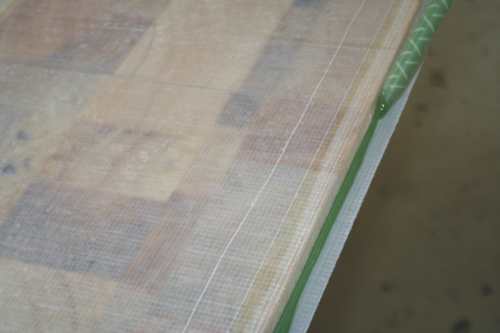
Then squirt in the glue and spread
with paint brush (I do anyway) and go through the pressing steps
as described earlier. This is also a view of a perfect scarf
joint. This is what they are supposed to look like. A good firm
'lip' on the fibre glass edge and the inside facing surface should
be consistent, straight and cleaned off back to a few mm greater
width then the fibre glass 'lip' edge. |
|
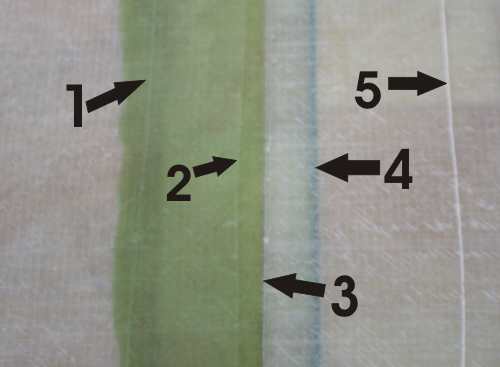
This is what it can look like
then, after going through the press.
1. is a scoring line, this one covered
in glue but no worries. Find a clean corner and pull the peel
ply off.
2. the end of the peel ply. between
2 and 3 is where the glue will remain after stripping off the
mask. 3.the edge of the 'lip' of glass.
4. the actual join of balsa under the
glass showing the line of glue there.
5. the scoring on the other side. The
peel ply will be removed between 5 and 3. |
|
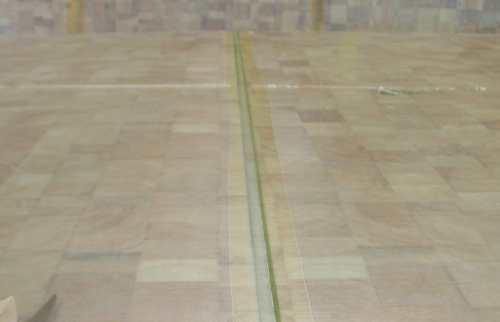
With peel ply stripped away as described
above, this is what you get. Very clean and easy to fair surface.
BUT.. there is sometimes a but... this technique combined with
some factory defects caused a lot of pain in the arse before
the defects were spotted... more later. |

|
Sometimes the glue gun and mixing
tip don't work well. Parts A and B are different colour and this
shows inconsistency in colour indicating poor mix. I mixed as
best I could on the surface with the paint brush and it seemed
to work OK. just don't trust the gun.. always check. |
|
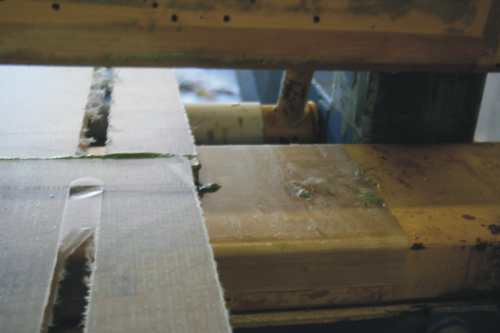
Here is where I had a win!! The panels
were miss-aligned. If I had aligned in the press by the edge,
which is the normal way, it would have been a disaster. But I
had been watching everything by then and noticed that by aligning
the edges the routed lines were just a little off. |
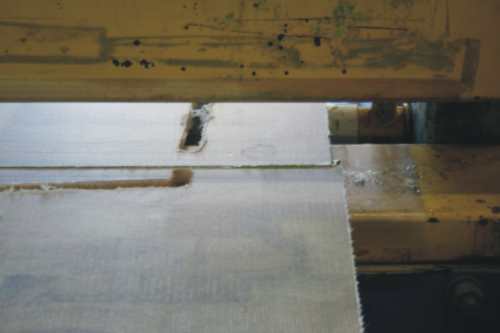
|
And again... after examining the
thing I think I understand why it was done but to have shipped
it off without alerting the builder to the anomaly was pretty
slack. |
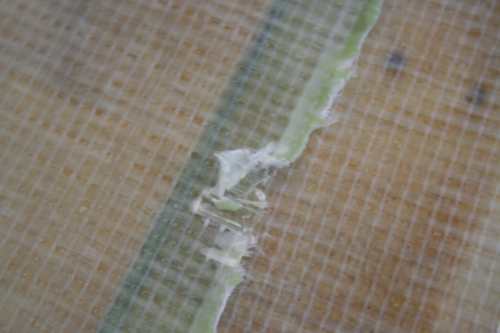
|
This was a big awh SHIT! moment. Peel
ply under the glued edge. Why? How? Answer... a variety of faults.
This join is ruined and will have to
be ground away and redone leaving more fairing work. Of the
65 panels most had this problem to some degree. The first 20
or so panels were all good so this problem snuck up on me.
If I had used the method where you strip
away peel ply prior to gluing the peel ply could not have got
trapped under the glass but I would still have poor structural
joints and the addition fairing. |
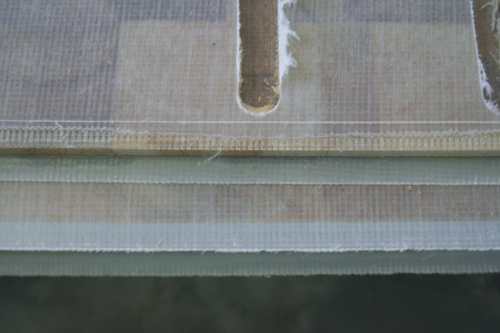
|
How did it happen???
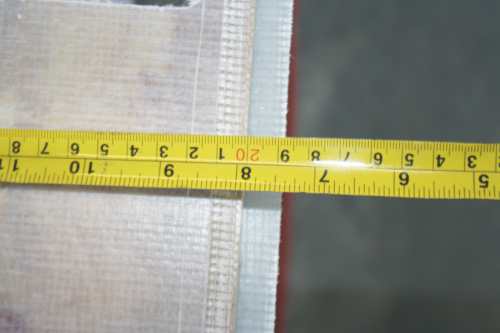
Here is one way. The line in the peel
ply was scored at the factory and was where the peel ply was
meant to be removed but it wasn't. Even if I had removed adjoining
peel ply before the gluing process this would have remained and
caused the join to fail as the peel ply would have been under
the glue.
Also note the inconsistent and ragged
scarf. |
 |
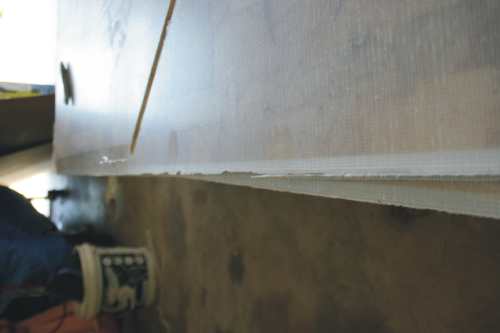
Here is another way... on this one
the peel ply was scored and removed and the scarf was cut clean
and consistent. But consistanly wrong! The under side was much
shorter than the 'lip' side so once again, if not spotted there
would be peel ply under the glue again. |
|
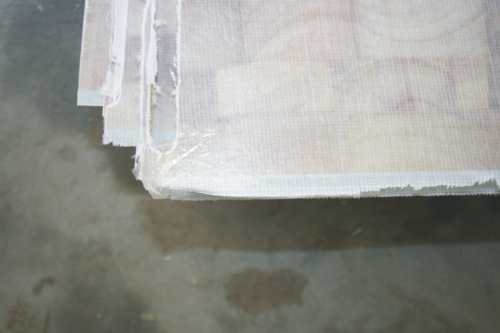
About 35 panels had problems related
to poor scarfing. This was the worst but is a good indicator
of one type of problem. The scarf is ridiculously over cut. There
is almost no fibre glass left. Just a thread or two and the peel
ply holding the lot together. This one was so bad someone at
the factory appears to have covered it in clear packing tape
so it would get here without crumbling more. |
|
an obvious need for better quality
control. |
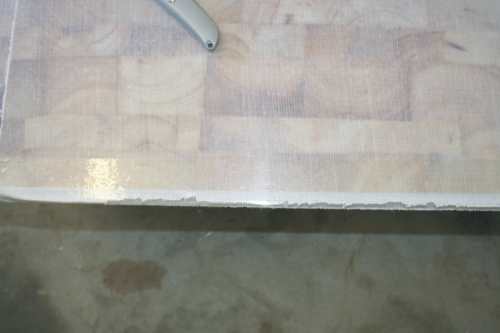 |
This is the most graphic example
but so many had been over cut. Some would look OK at a glance
but when closely inspected would reveal that most of what you
were seeing was peel ply and little fibre glass left. This makes
for a substancialy weaker joint. It would need to be taped and
then the extra fairing. |
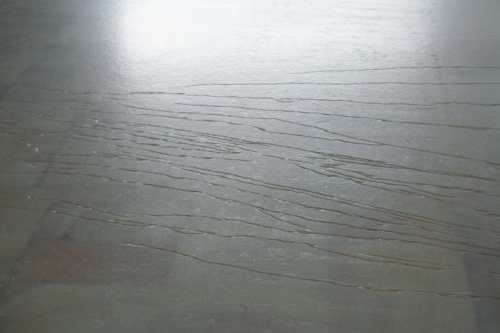
|
I had several (5 at last count) of
these. Gross wrinkles caused by the resin going off whilst the
panel was still being worked at the factory. The issues up front
are.. heavier panels (resin rich) in what is supposed to be a
light weight product, more fairing work and the peel ply can
get stuck underneath the wrinkles and be very difficult to clean
out, even requiring grinding off some glass to get it. |
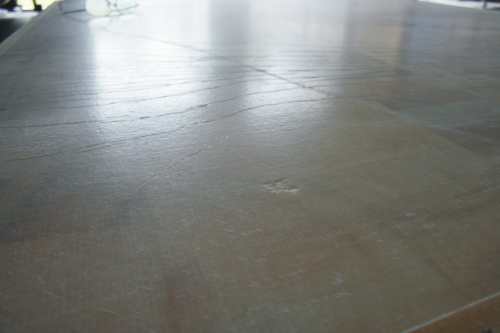
|
More of same... |

