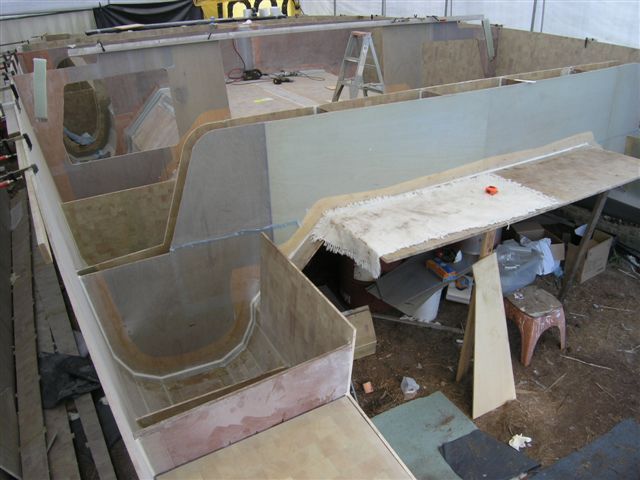
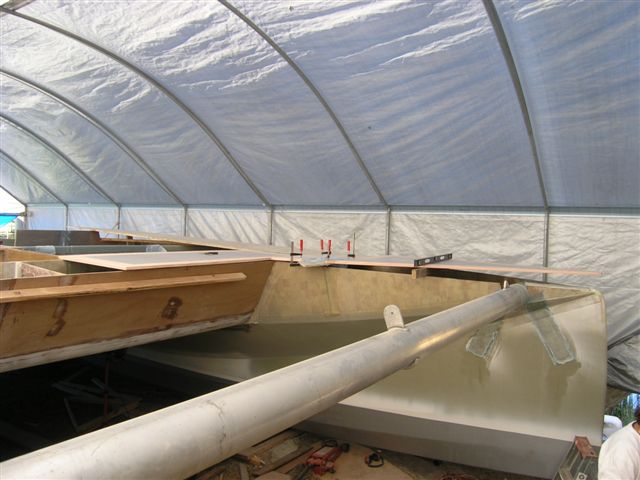
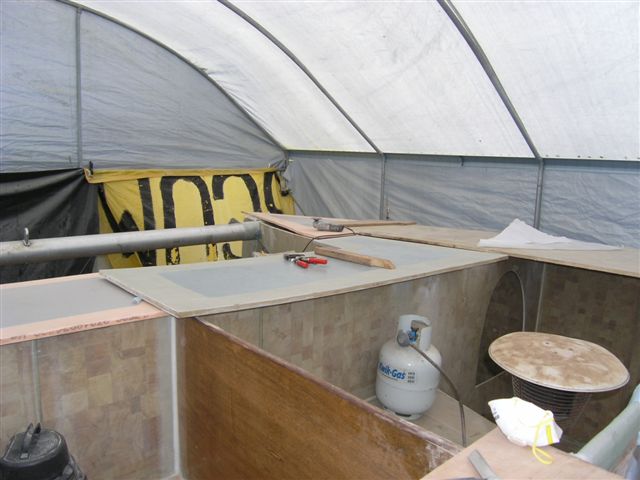
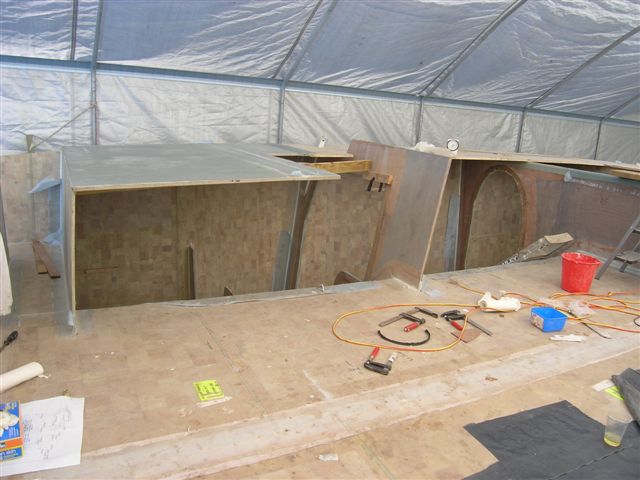
In this photo the main structural bulkheads
are positioned. Notice the timber clamped along the shear. This
helped keep the shear fair.
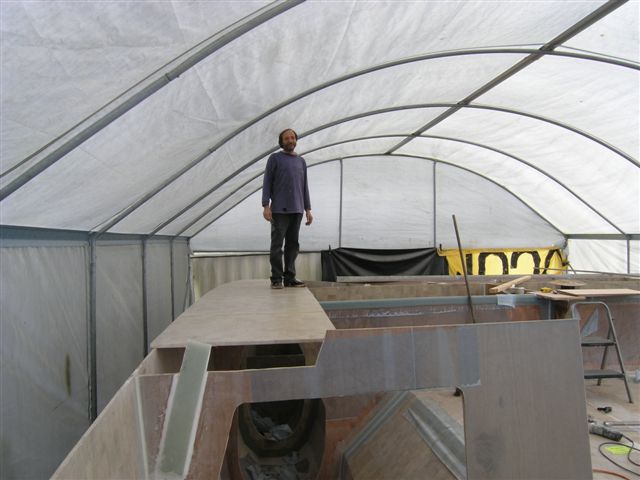
The first step was too easy and very
rewarding. It amounted to lifting an offcut from the bridge deck
up and standing on it.... for the first time standing on our
deck. A milestone. There were two panels like this and they fit
with least waste in the position shown.
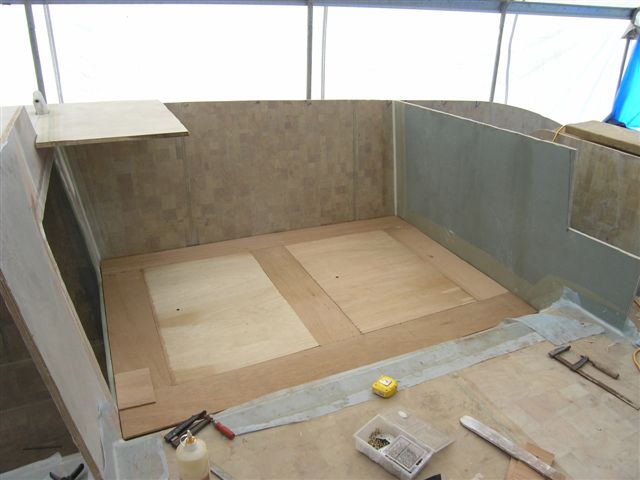
This bulkhead I laminated with 12mm
foam and vinylester with 600 DB. The Z shape will be a cockpit
seat shape.
And whilst I was in there I knocked
up a bed platform in ply. Should have used polycore. Stiffer
but I made the ply work with some fettling with supports. The
edge facing the shear panel was later taped with 750 tri ax to
act as a stringer.
Also, between the deck and the composite
chain plate is a doubling plate of 9mm ply with a massive schedule
of tape and epoxy. I am confident the boat could be lifted from
one chain plate alone.
For the bow sections and forward locker
panels, I cobbed together scraps of foam prior to laminating.
when done you can't tell it's been done in pieces.
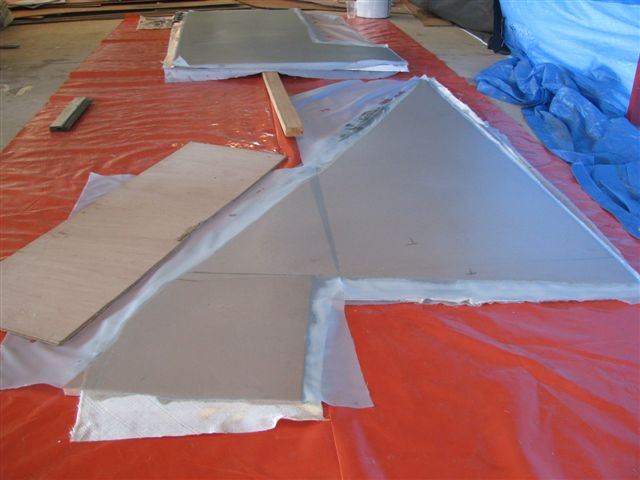
Two sections laminated with epoxy this
time. The timber under the panel at rear, was placed to give
the panel a little camber to save torturing later. It worked
perfectly.
Check for fit and trim....
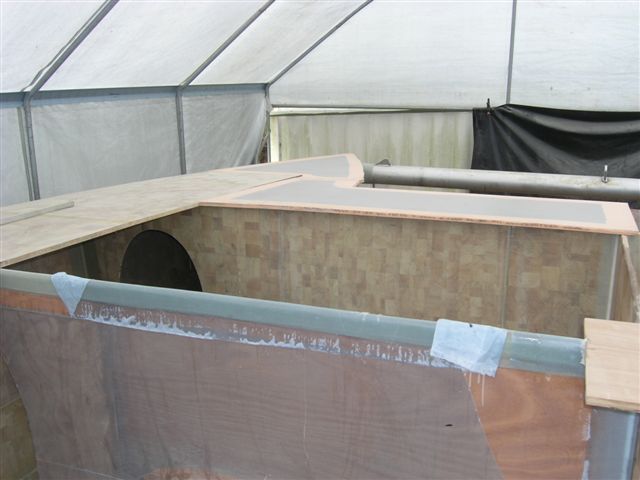
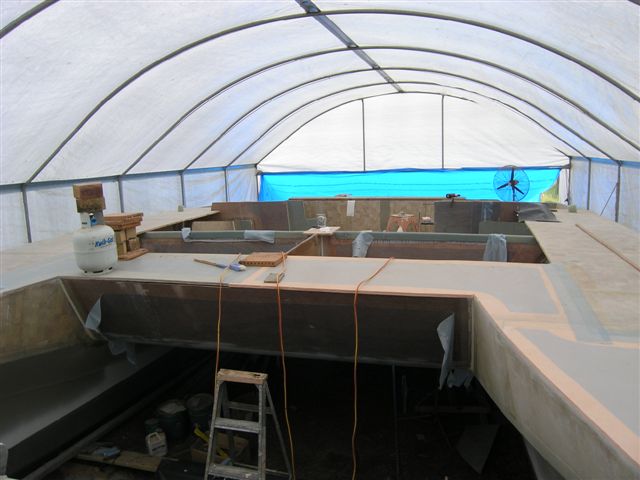
And then jig up so that the taped
joints are square to each other to avoid "peaks" at
the join. When hard, removed the clamps and the length of the
unit made it easy to keep a fair camber. Notice the ply face
has been installed at the forward lockers.
Also note the forbeam is in place as it
will be buried by the deck it had to go first.
And starboard side, same deal...
And then screws and "gravity clamps"
to hold stuff down to tape the underside. I used a bigger coving/filleting
than usual for this so I could take more of a bite out of the
shear when finalising it later.
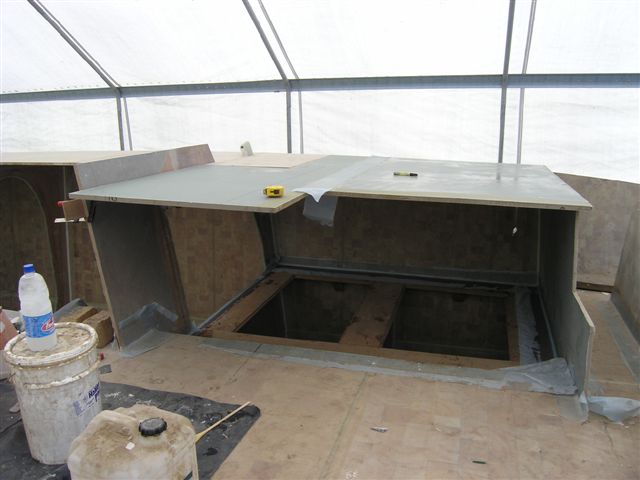
The fit between the upper shear panel
and the decks were very rough. The panels were not properly cut
to begin with so had to shim, trim and fill to get it right.
Used glue mix to stabilise before taping. Notice the ply face
of the forward lockers has now been laminated... that was a nightmare!
I found that laminating anything at this angle is very hard.
I was in deep shit and Kay came out to rescue me and both of
us rolling and wetting barely made it. No time for pictures of
that job!
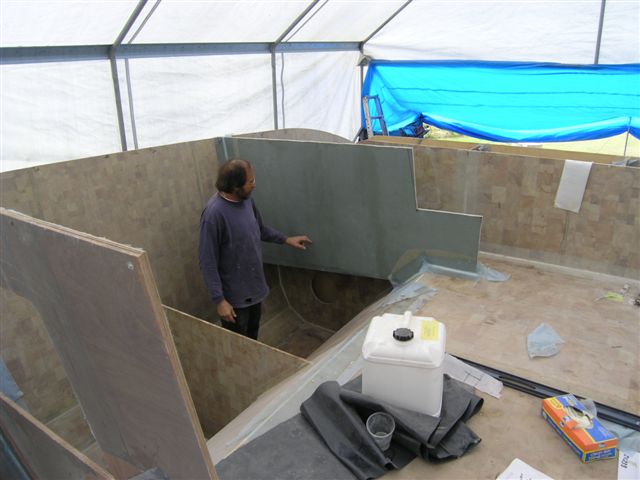
And there are those vinylester panels
installed.
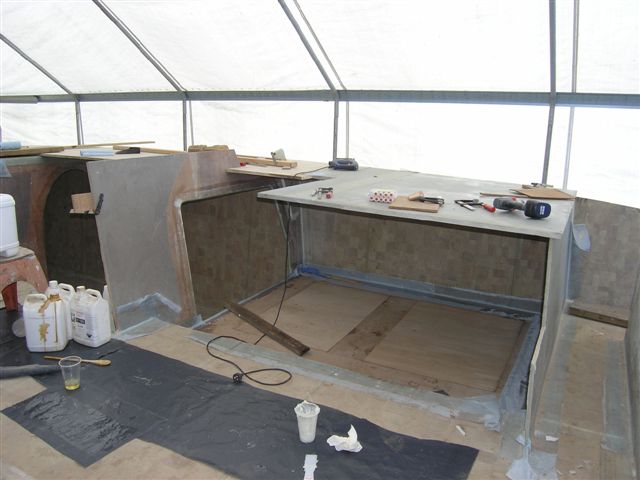
And trimmed.. notice the bed frame is
now taped in all around. When taping the chain plate and bed
frame I got bold and did it in the middle of the day... and paid
the price. I had to stand by for two hours rolling out air gassing
from the Duflex to save it all. The Duflex continues to slow
this project as it determines when I can work whilst if I'm taping
on ply or foam, it can go anytime. Duflex just can't be trusted
until after 4 PM earliest.
And the port side which is configured
differently because that side is to be the new office for the
paper.