|
Building Dagger
Board Cases, Clam Shell Style... |
|
After a lot of head scratching and asking
around, I believe I have come up with a combination of techniques
that combined make this otherwise painful job a smooth construction.
One piece, finished and painted when you are ready
to install. This is assuming you have your boards first of course.
Mine were to final shape though I hadn't bothered to fair the
ends and paint. Good enough for this. |
 |
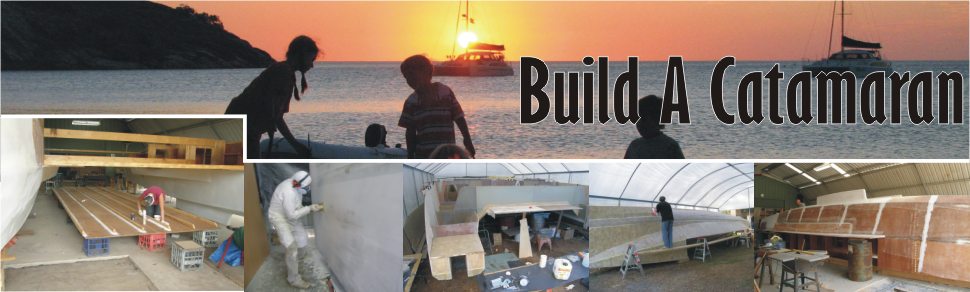
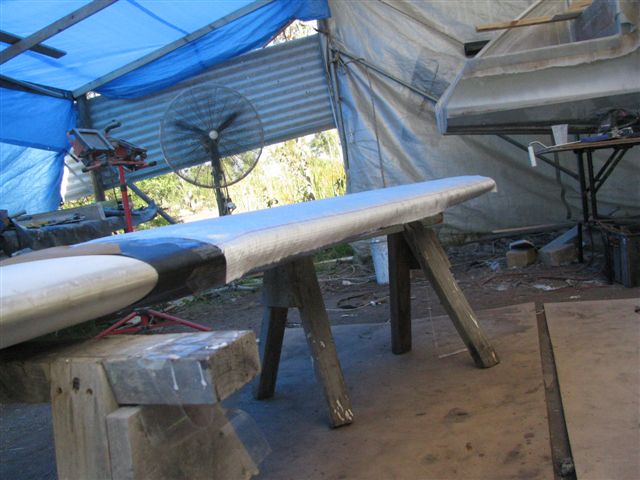
I first wrapped my board with black
builders plastic and fastened with packing tape. This is just
to protect the board. I cut a 9mm strip of ply and taped it along
the trailing edge to keep the case length I wanted. Then I got
a piece of used carpet of desired thickness and wrapped it around
as snug as I could, cut to length at the strip of ply on the
trailing edge, and taped in place. On my first case I then covered
the lot in black plastic but found it wrinkled a bit from the
warmth of the epoxy so on this one I wrapped the whole thing
in packing tape, two directions. Took some time and a couple
rolls of tape but I found it worthwhile. |
 |
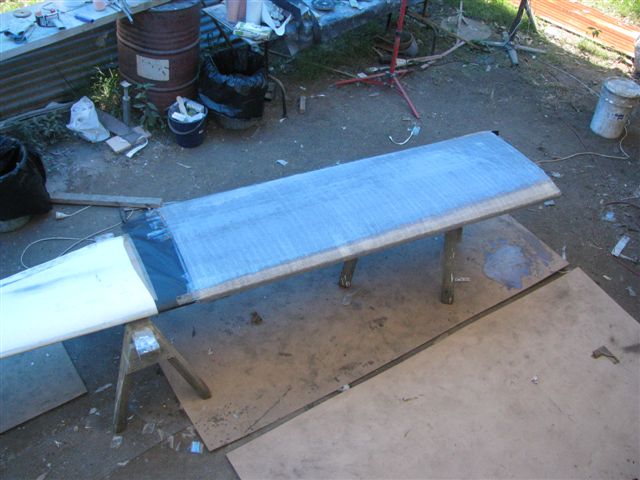
A different view of the taping process. |
 |
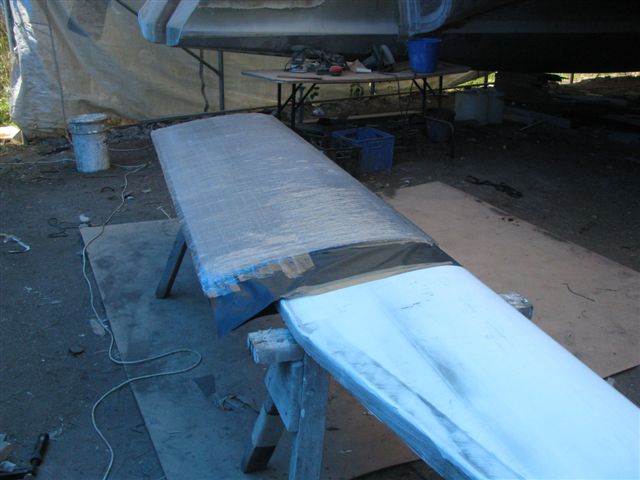
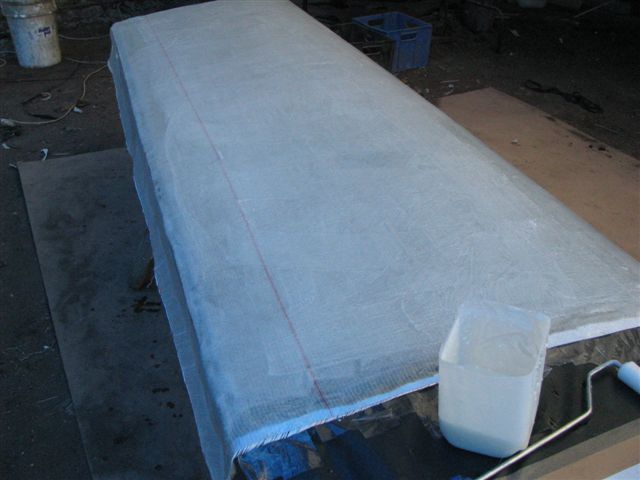
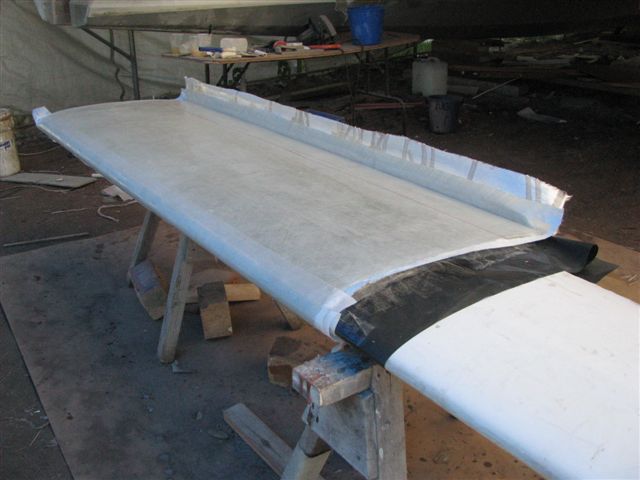
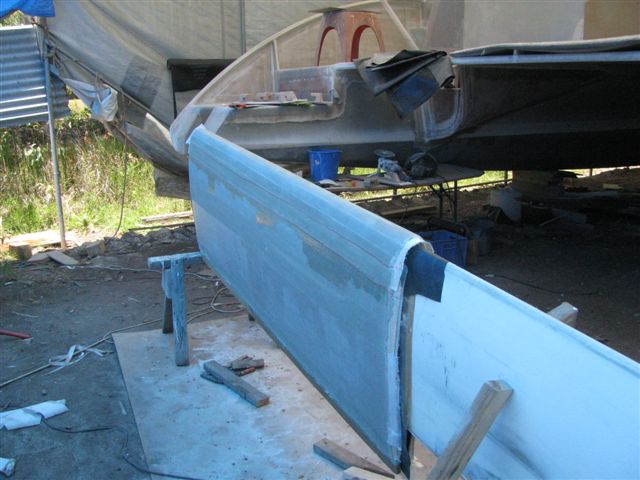
With the tape in place that epoxy doesn't
stick to, and a light cote of PSA (release fluid) if you like,
I lay on my glass (450 or 600 db is fine). The side nearest
this view is the trailing edge. The glass is purposely left hanging
over this edge. Explain later.... |
 |
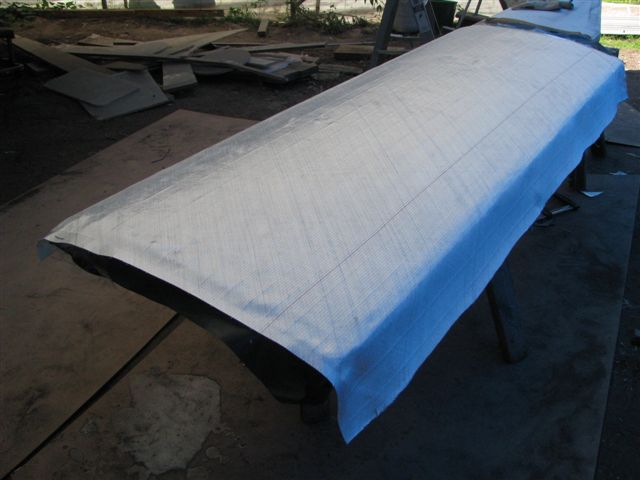
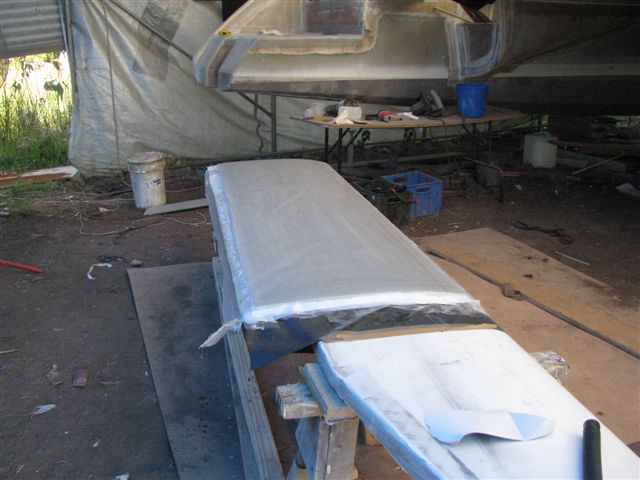
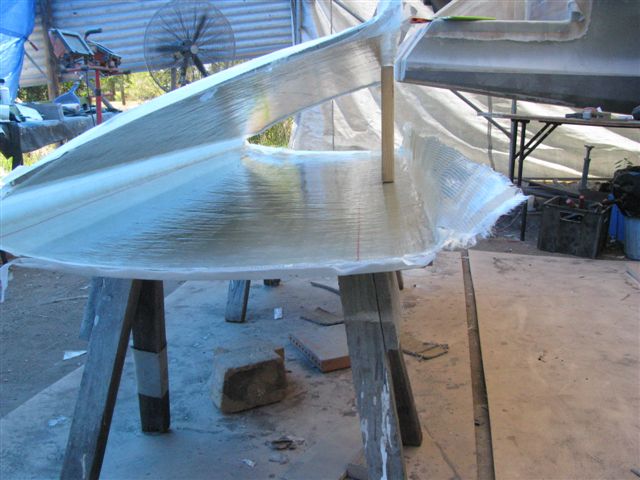
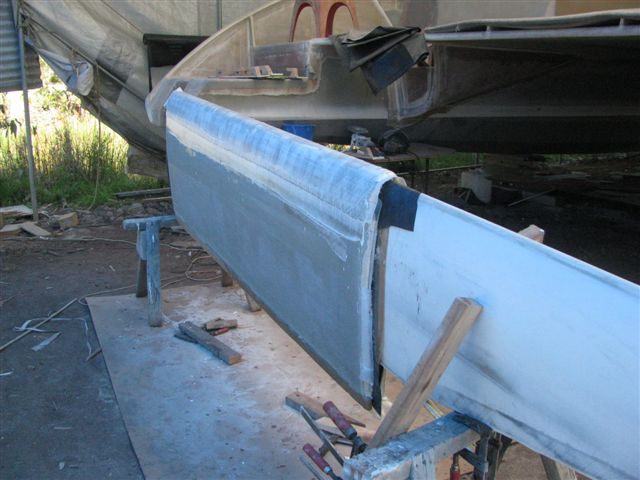
This is the view of the leading edge
and you want just enough glass to get around the corner but not
more than that. I have just started to wet the glass in this
photo, you can see the far end starting to wet to the surface.
If you are careful at this point, the join to the glass on theother
side is seemless. Use the just enough resin to wet the glass
to the edge and no more. |
 |
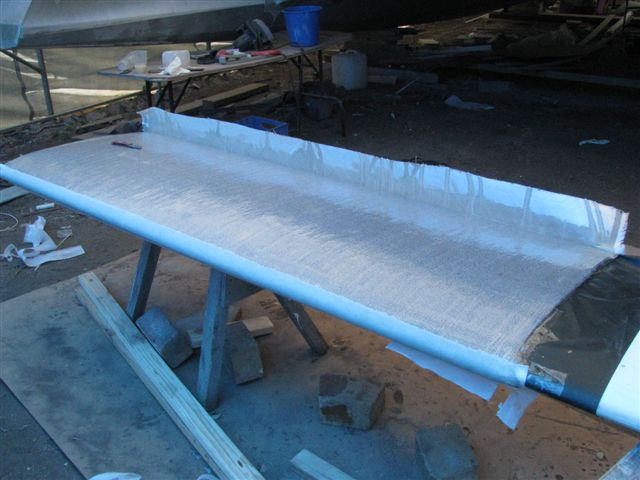
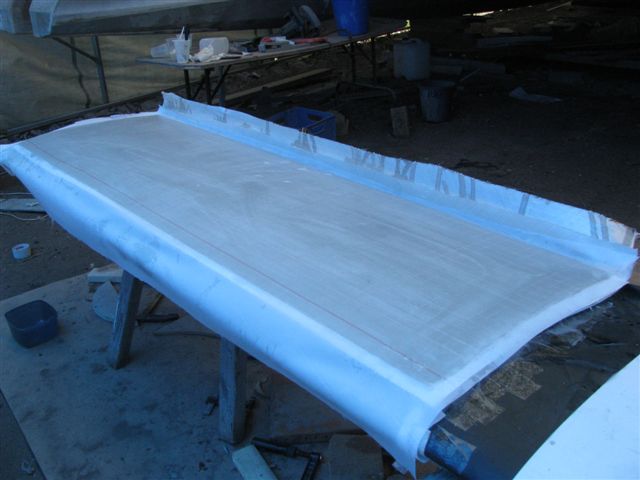
Here I have wet the glass all around
. The trailing edge needs resin for the first inch or two and
excess wetting there is inconsequential. Just drips on the ground.
Not visible in this photo but I did put
a little strip of peel ply on the leading edge.
I have also begun wetting the glass with
a glue mix (cab-0-sil) in preparation for applying the foam sides.
I have also wetted the back side of the foam with the same mix
and then.... |
 |
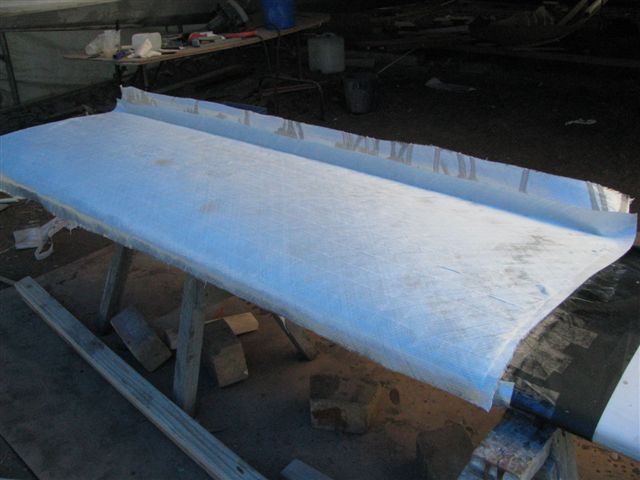
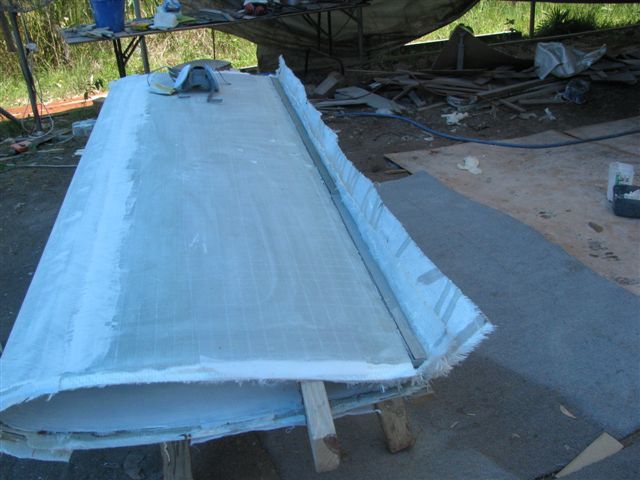
Lay my pre cut foam in place. You
want enough glue mix to be sure of getting the air out. I used
the cut foam but in retrospect, I think plain foam would have
been just as good, maybe better. I used 15mm 80 KG stuff and
I think plain 15 or 12 mm foam of 60 KG would have sufficed and
maybe been easier to handle.
The foam comes within a couple inches (50-60mm)
of the trailing edge and about 4 or 6 inches (100-150mm) from
the leading edge. |
 |
I used some light ply and timber with
weights and clamps to hold the foam down and squeeze out air.
It would be hard to use too much glue mix but easy to use too
little. You can always wipe off excess. |
 |
Did I mention this is one of those
projects you do along with other stuff? It's an hour here and
an hour there and time to let set in between.
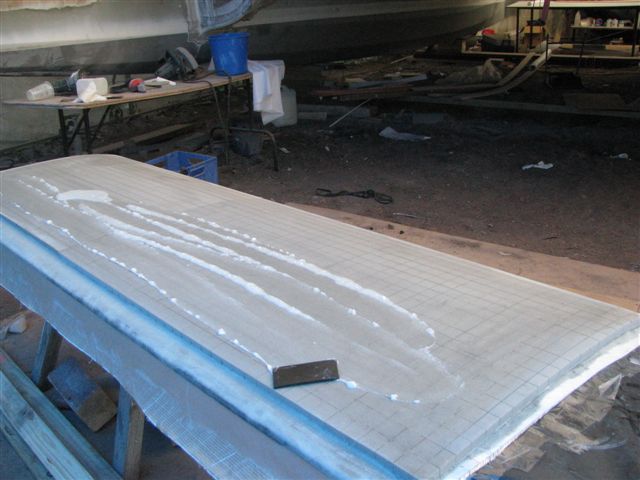
Anyway, after letting the lamination and
foam gluing set overnight, I fill the crevices with resin, first
a little thinned pure resin (5% acetone) to get it into the wee
bits then a slurry of resin mixed with cab-o-sil and Q-cell.
I use a rubber to work it in as best I can. And working wet on
wet.... |
 |
I immediately go from filling to
laminating over the foam and covering with peel ply.
let set..... |
 |
This is what I have the next morning.
I flipped the board over and carefully remove the peel ply from
the leading edge. Important... you don't want the fresh laminate
to break away from the edge. If you do you will have a little
more fairing work to do later, don't panic but try to avoid disturbing
it.
Now use your packing tape and maybe a strip
of black plastic too, to provide a mask against the trailing
edge laminate from the previous step. You don't want resin to
go down the slot between that previous work and the form. Seal
the groove all along the length. But be tidy. You are
going to be laminating over the top of that work. The idea here
is that when it comes time to pull the board out, these parts
WON'T be attached and the case can spread apart due to flexibility
remaining in the leading edge. |
 |
So now you begin the process like the
other side. This time you will be laminating over the leading
edge of the other half so they will be joined at this stage. |
 |
Laminate wetted and notice the peel
ply over the leading edge. |
 |
Foam applied as before.... |
 |
And here it is done again, wet on wet
with peel ply over the edge and foam panel (cheek) ... let set. |
 |
Next day you should find it easy to
left a side up a little. PSA mould release liquid helps but the
packing tape surface itself should be enough to guarantee release. |
 |
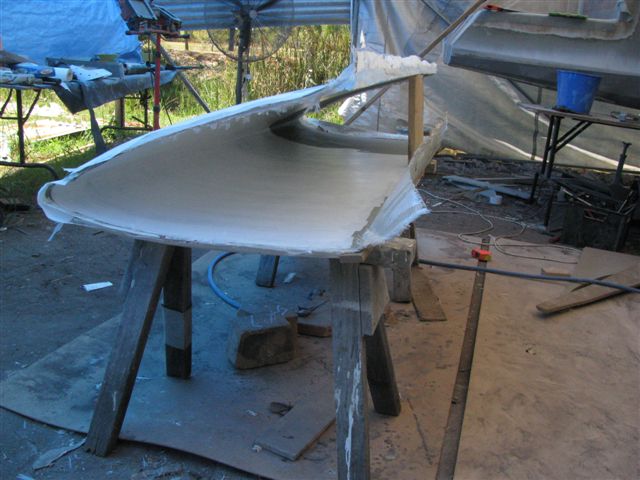
So, slip your board out after carefully
prying off each side and put a stick in there to see what you
have. This surface would have been good enough as is but since
I could .... I did.. |
 |
I gave the surface a quick sand and
spread some filler mix with phenolic microballons.
In this state the sides, or cheeks where
the foam is, is quite stiff with the flex all in the area around
the leading edge.
The most forward part of the leading edge
flexes less as it is a double thickness of the laminate which
is where you want it.
Something to remember working the case
is that the resin doesn't really harden for several days so don't
leave the unsupported case in awkward positions for too long.
I flip it over now and then or hang it from a bar or stick it
back in the board. |
 |
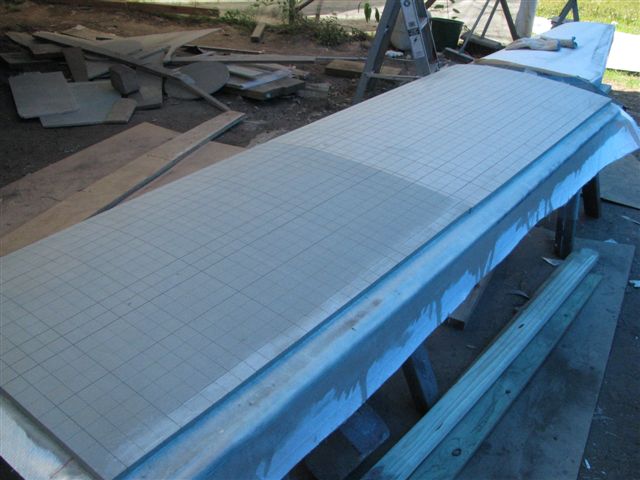
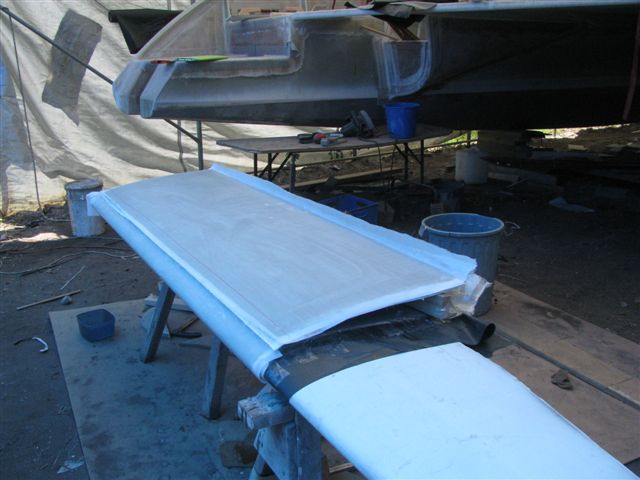
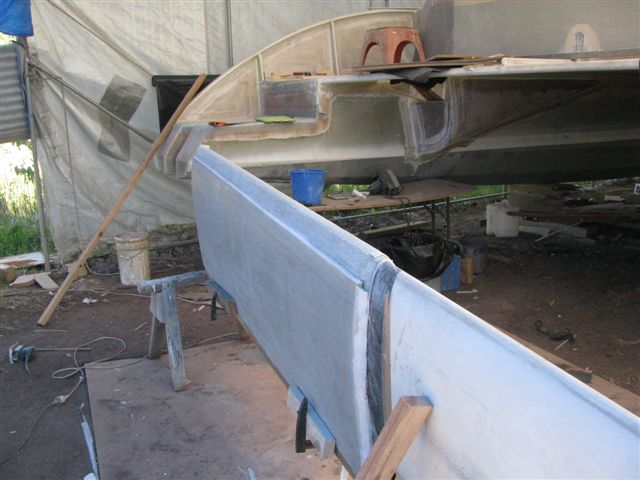
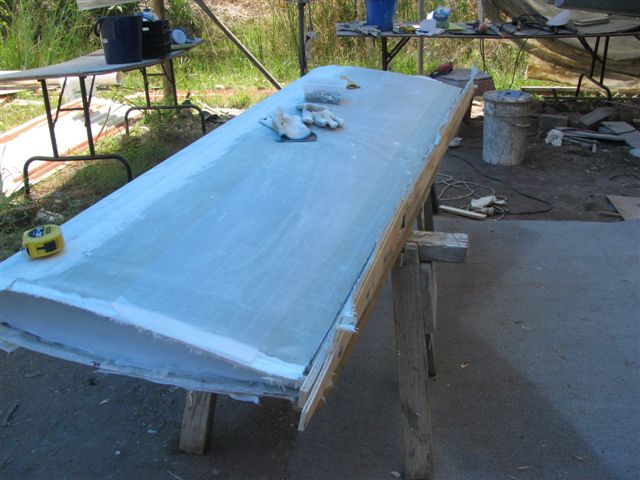
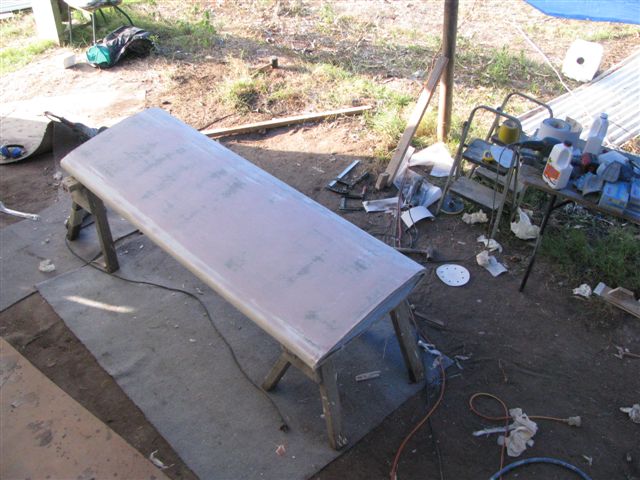
Sand the skim coat of filler off
(if you used any) and paint. Here is two coats of epoxy primer
and a coat of polyurethane ending about the waterline.
While this work was being done I cut some
scrap foam to fill the small gap between the end of the foam
sheet and the trailing edge. I got both sides glued in amongst
it all. |
 |
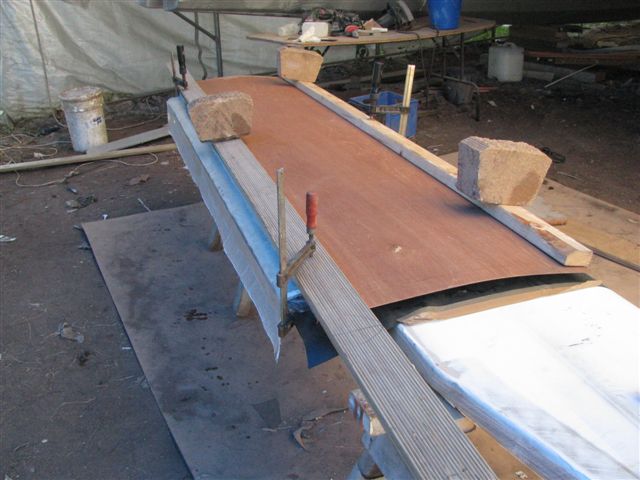
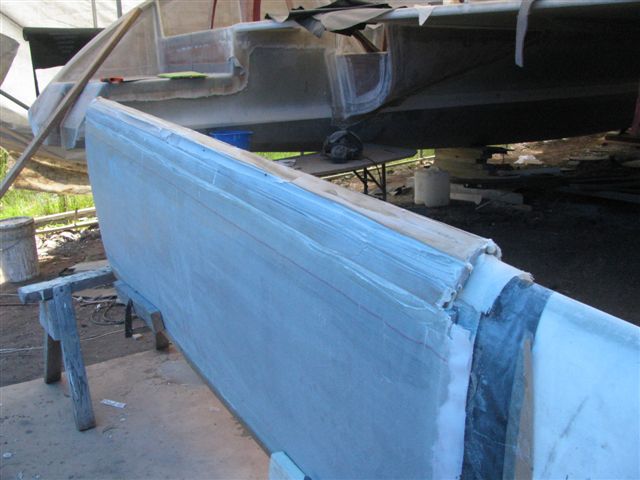
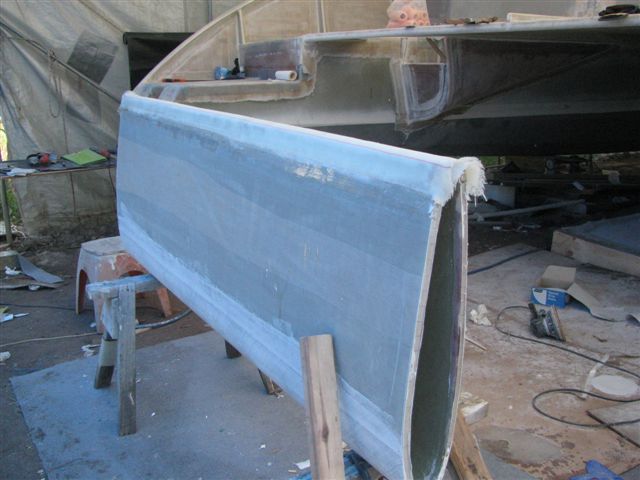
As soon as the paint is set, back
on the board and clamp snug. If the laminate got a little out
of shape from being green and awkward, this will probably fix
her up.
Here I have stripped off the peel ply on
the edge and cut back the peel ply on the cheek panel of foam.
In this photo I was just about to lay on a heavy tape (750 tri
ax) over the leading edge. That will give the leading edge a
double layer of the case laminate and the 750 so at least 1650
gram all up. The leading and trailing edges are where the mass
needs to be. |
 |
Here I have gone through my scrap
pile of foam and cut odds and sodds and wacked them on with glue
mix.
You can see the 750 tri ax protruding out
the end under the foam. |
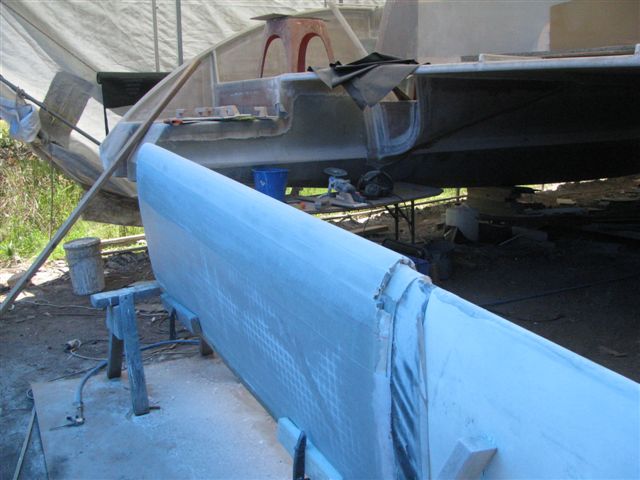 |
Sand to fair soon as you can...
notice I've stripped away some of the peel
ply near the top of the foam and I also stripped some of it away
when I glued on the foam strips by the trailing edge. |
 |
And tape over. I used about 4 layers
staggered. |
 |
And apply Q-cell mix as soon as it
gets firm. Let set. When it goes this time the shape is done.
There will still be enough flex to get it off your board but
only just.
|
 |
Here is a fine tuning opportunity.
You can flex the trailing edge enough to adjust to taste.
Overall, I wanted plenty of room. I've
seen sailors going through hell with over tight cases. Stuff
that! If it sloppier than I want later. A glued in piece of carpet
will fix it up but if you get it too tight..... yer screwed dude! |
 |
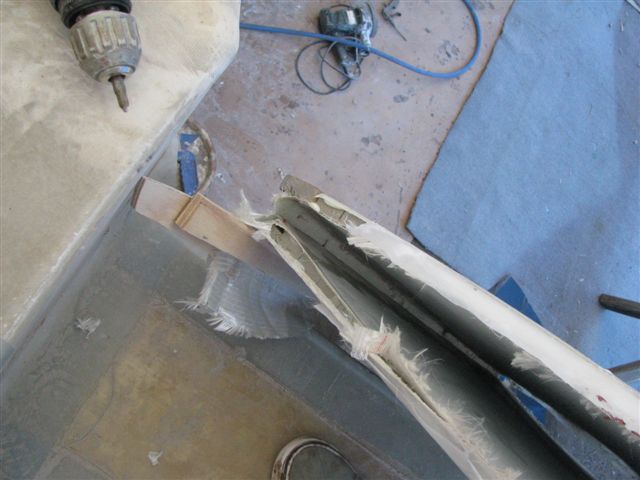
Here I have the shape I want and have
used some scrap ply strips and screwed them though both sides
of the trailing edge parts. |
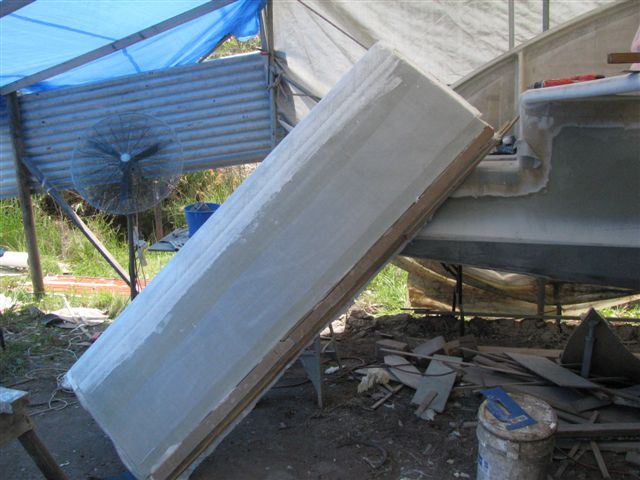 |
Here I have the thing tipped up so the
side of the trailing edge that isn't attached is on the downhill
side. Notice the funky collection of scrap foam pieces by the
trailing edge.. we'll get that soon. |
 |
I couldn't do this and photograph it
too... but what i did was mix up a loose batch of glue mix and
gently poured it (thin stream) down the part of the trailing
edge that wasn't (yet) attached until it started showing at the
bottom. Then I laid it down on the trailing edge, slightly canted
toward the glued side. |
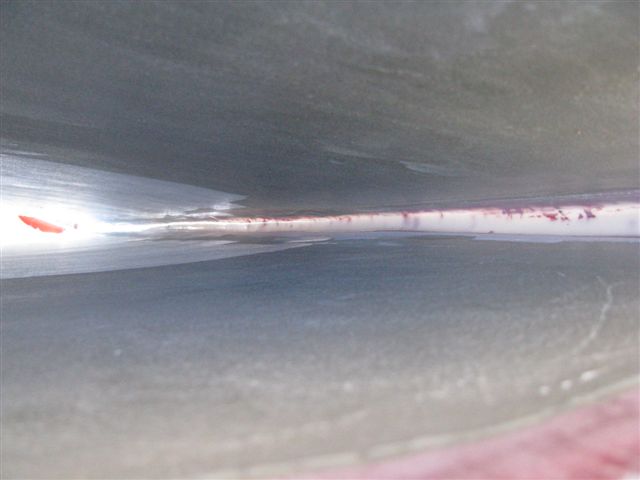 |
That is what it looked like after. Works
for me! |
 |
Now I can trim off that excess dangling
bit and shape the trailing edge and the scrap bits of foam. |
 |
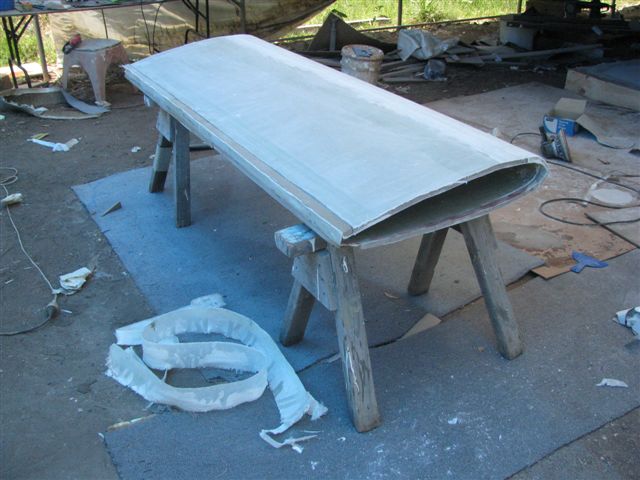
I used A LOT of glass on the edge (about
3000gram) and a good deal of filler over the bottom layer to
get good shape and provide a composite of sorts. This was all
done wet on wet of course. I let it go just firm and applied
Q-cell bog. Sanded at first opportunity, stripped off the rest
of the peel ply and gave the rest of it a coat of filler and
sanded back. Result is below. |
 |
A lot of little steps but all manageable.
I got exactly the shape I wanted with a very good finish. And
I didn't need to hire a circus act to juggle two halves and taping
them together.
PS... you could park a truck on those things..
tough as...
And acknowledgments... leaving the trailing
edge dangling to extract the board and glue later was an idea
from Mal Salisbury. Applying the foam cheek panels to stiffen
that area and leaving the leading edge flexible was from Bob
Burgess. These two renown builders have been invaluable sources
of advise and information and I am just digesting, combining
the best of the ideas in my opinion, putting my two cents in
and delivering it to you. |
|
|
|