Back to Home Page

Back to the building log

 How to decore balsa core for hatch installation

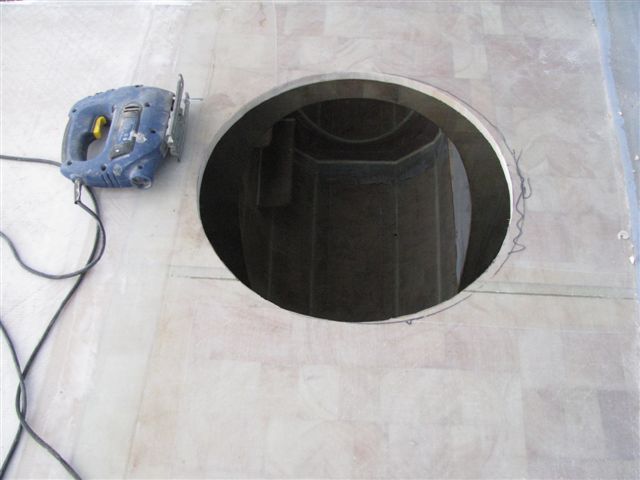
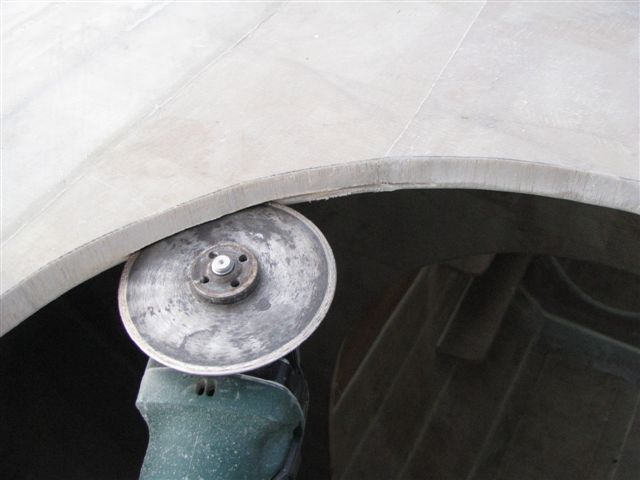
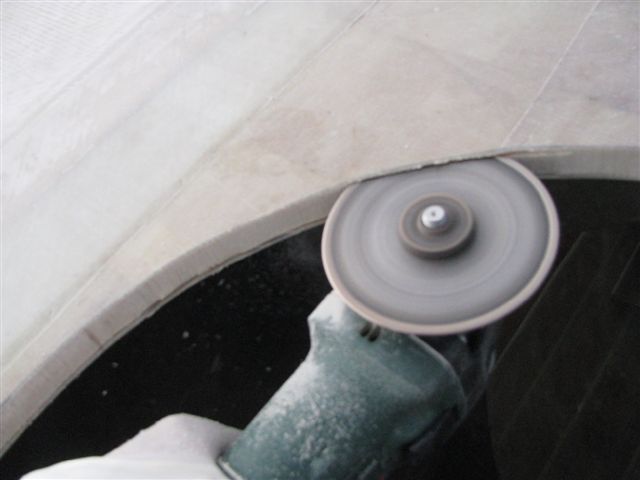
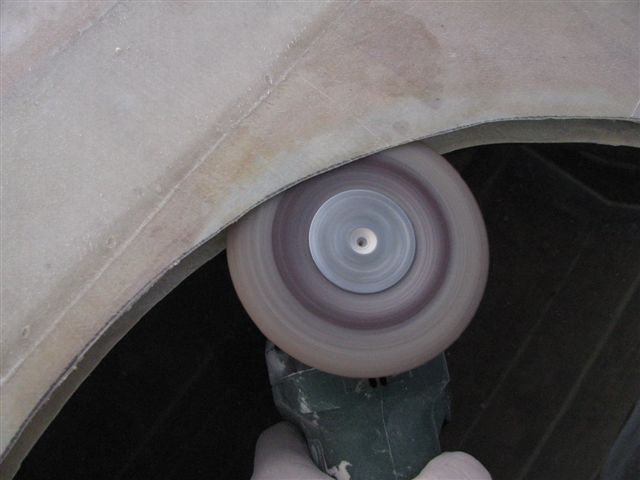
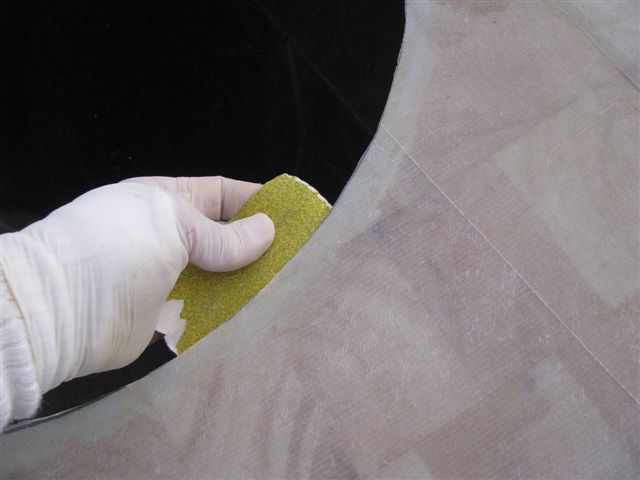
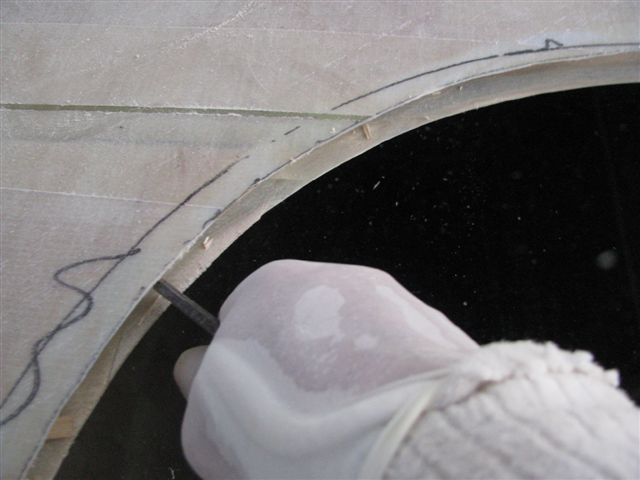
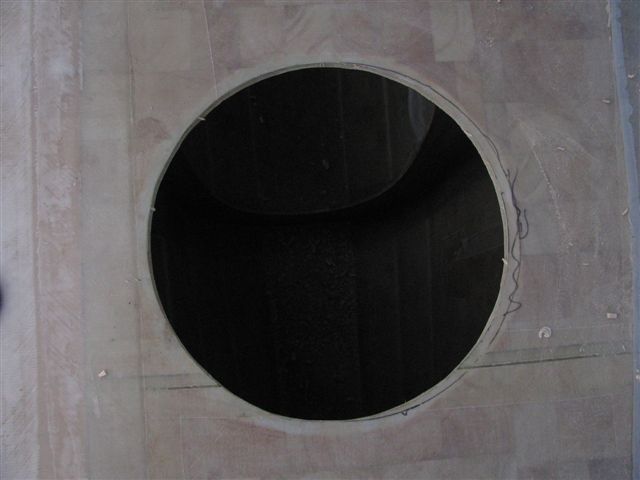
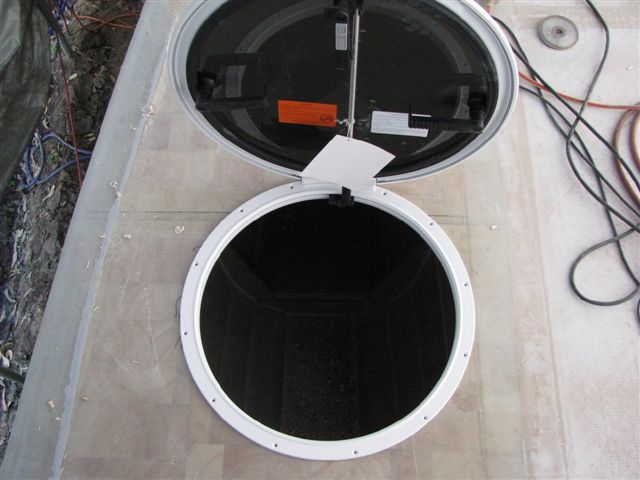
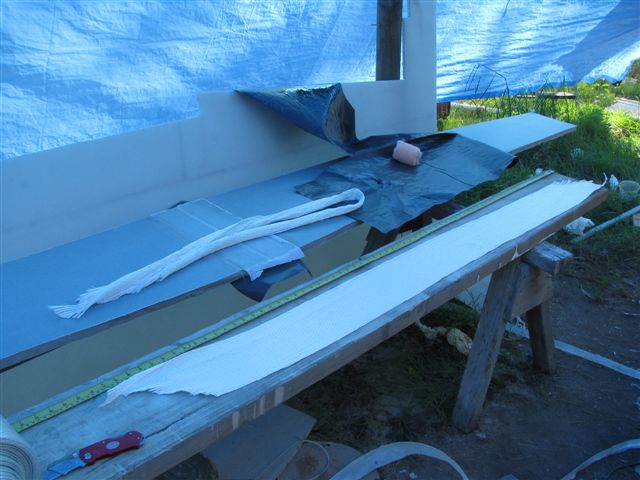
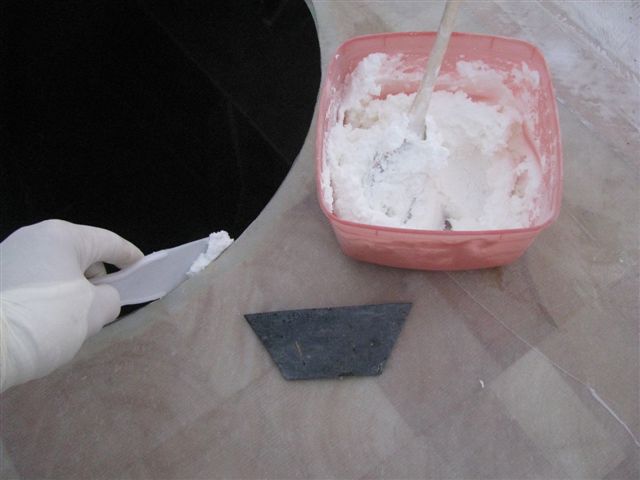
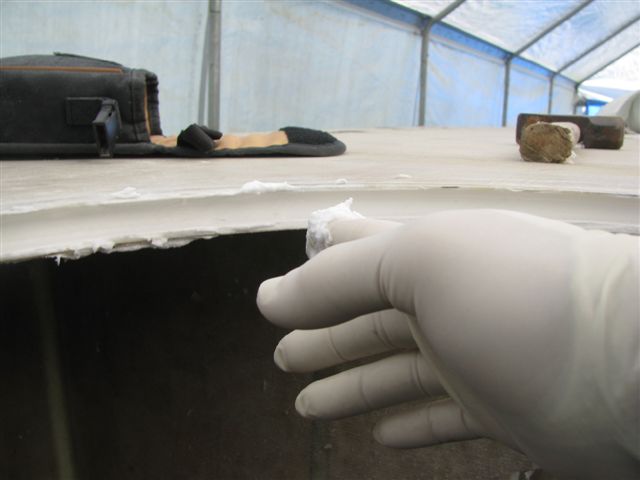
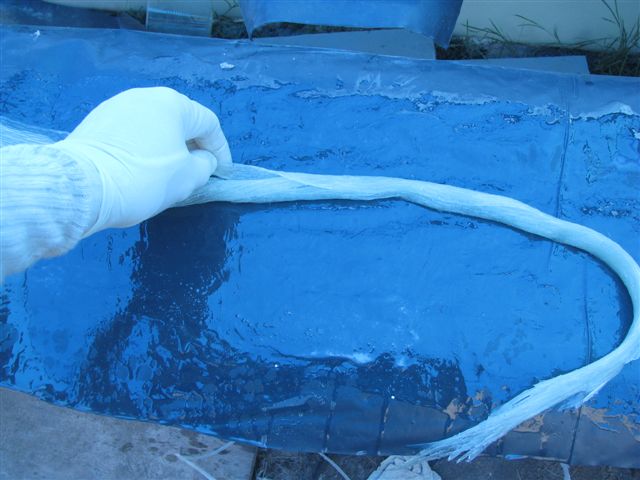
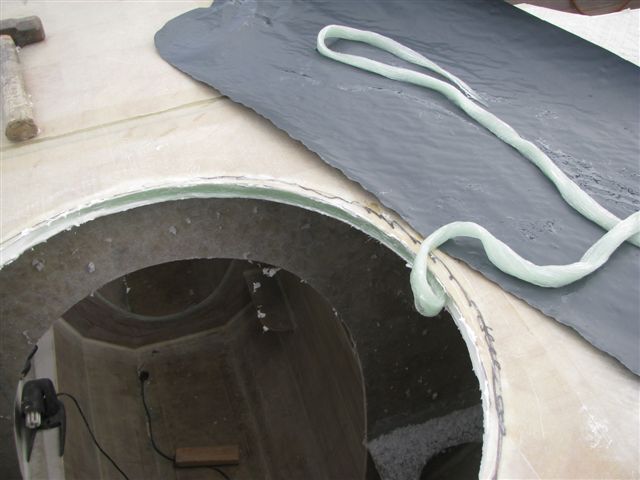
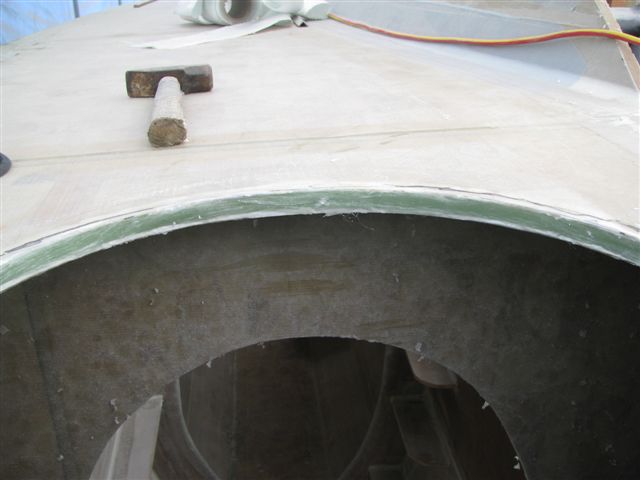
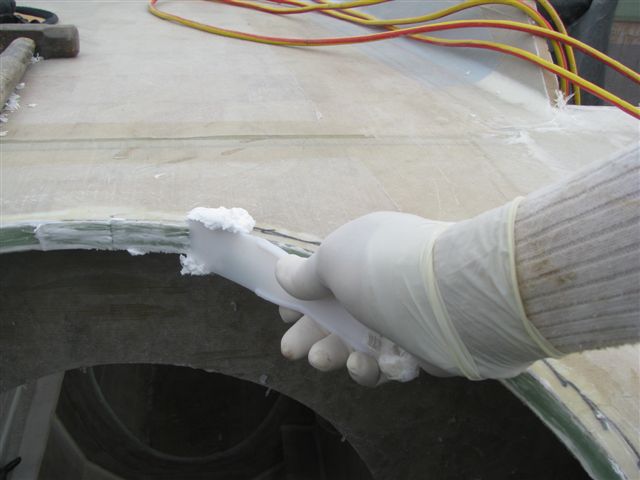
 This is a messy little step that I have seen professional builders omit to their customer's dismay. Generally just as the builders warranty expires the hatches start to leak and removal of the hatch exposes a rotten mess of balsa that requires a big job to decore deep into the laminate, if not having to cut whole sections of deck out. Then you have fairing and repainting, either done well (big $$$), or not so well (still not cheap $$). Also, the reason they might leak, aside from sloppy work installing, is because of excessive flex of the deck. Both of these issues are dealt with here. I did this process for foam core laminate as well. Good closed cell foam like I use in other parts of the boat, won't have the rot problem but deck flex can still causes leaks. Besides, I do not want decks that behave like a trampoline.

This is one of those detail items that define the difference between a well made boat and crap boat you wouldn't want to buy second hand like the guy I met in Mooloolaba. He bought a very flashy looking sailing cat for a "bargain". He found out just days too late. None of the fixtures on the deck were decored and it was all balsa core. The estimate for repair was over $50K.

 
 I spent some time making sure where to cut the holes! I have four of these matching hatches across my foredeck so a poor alignment would show up and look like...
   This is a diamond blade used for cutting tiles. Cheap as chips and works well without clogging. More controllable than you might think too.
   Then the other side.........
   Use a wood chisel to chunk out the balsa.
   Then mount a 36 grit sanding disc and carefully clean off the last bits of balsa near the edges. You don't want a stray bit of balsa wicking moisture back to the core.
   A quick swipe with 80 grit, to make sure. Only takes a couple minutes.
   Then back in to tidy up a bit. Even out and knock off any remaining high spots. I used compressed air to clear off debris.
   Looks good
   Fit is OK. Why round hatches? Because I got them for $150 each including inner frames and screens. Bomar from the USA. Pretty good stuff. Bought from a bankrupt boat builder.
   I measured around the hole and cut a piece of 850 gram, 150mm wide unidirectional tape. I tapered the ends as I want to have a scarfed join. I rolled up the dry tape and checked my fit in the decored hatch hole before proceeding. Now I leave this set aside, ready to go in a few minutes.
   I've mixed up a batch of stiff filler using 50% Q-cell and 50% Cab-o-sill (glue mix) and start getting it in the groove and all around quickly.
 Then I get in with my finger and spread around more evenly. I use the spatula for a quick clean up of the edges and top and bottom.
 Then wet the tape and role, not twist. The fibres should be straight as possible.
 Carefully inserting the rolled tape in and using the filler to avoid having air behind the tape and to hold it in place.
 Looking good. the splice of the tape is right in front and invisible.. good.

A small batch of filler to spread around the outside and make a final seal around the edges. Use the spatula to clean off excess top and bottom. If there is any hardened filler in the way of the hatch, a quick sanding will relieve it.


This kind of reinforcemnt is a handy thing to know. It really made the deck around the hole stiffer.


 copyright 2009-2015 The Coastal Passage