|
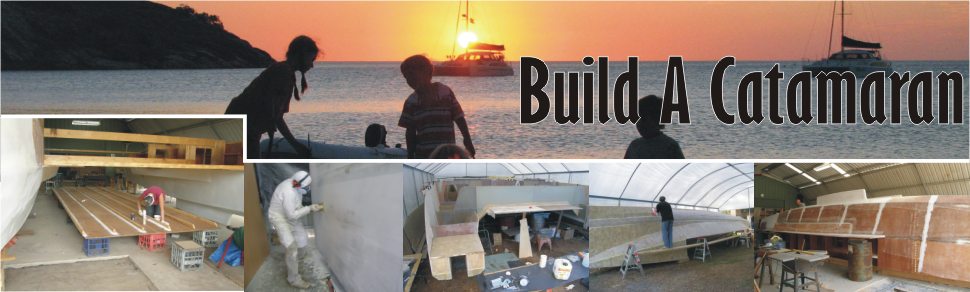
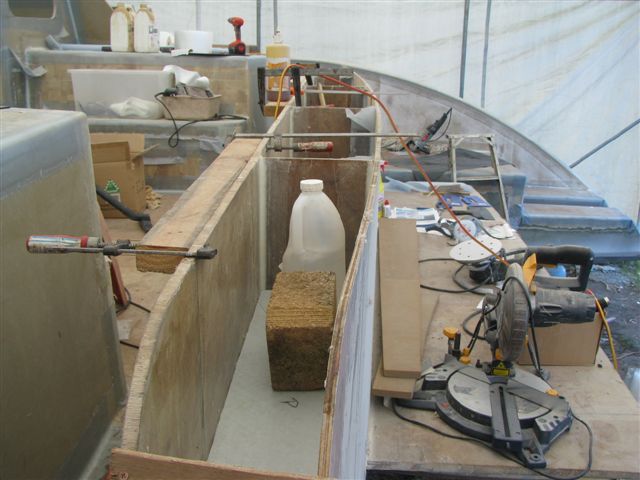
This is looking down into the starboard side
with aft above and forward below. I want to put a deck inside
there so I cut off access to the lower hull from water and to
provide a small compartment that will be water tight stowage
for binoculars or other stuff. |
|
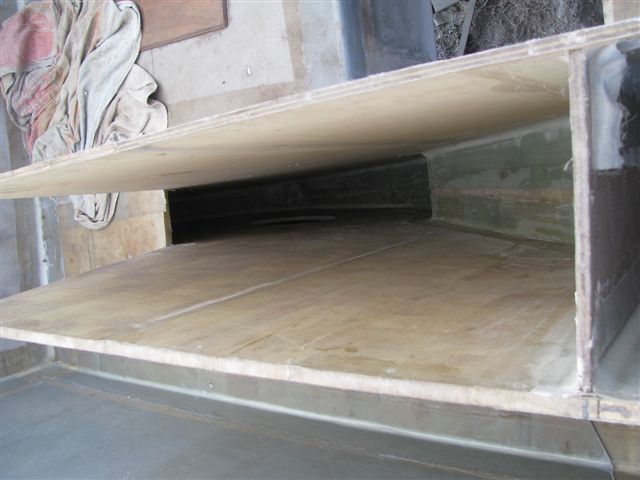
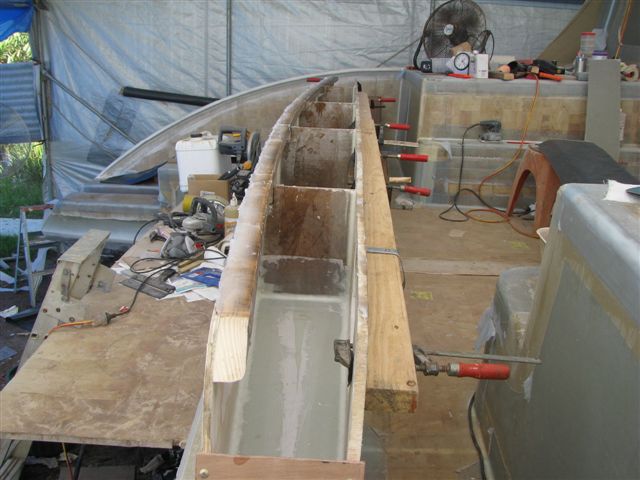
This side view with aft down and forward
above. The balsa panels that make up the forward section of the
beam had some wobbles so have clamped against timber to stabilise.
You can see sticks glued in place in the beam closer to the lens.
These will support the decking for the stowage compartment. Also
I have glued on a piece of 9mm ply for the outside panel of the
beam. could have used anything but ply was handy. |
|
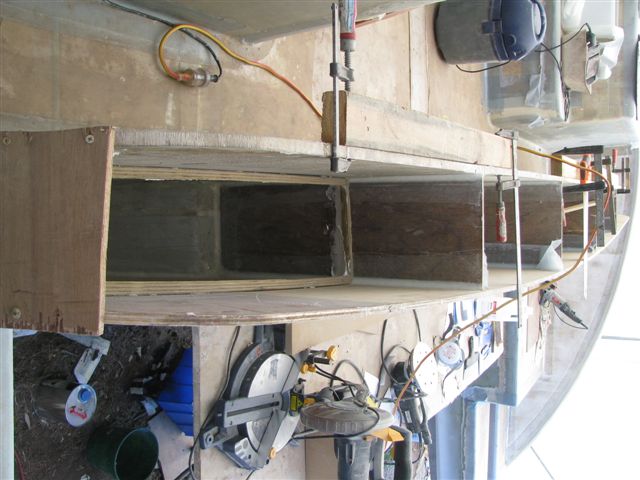
Better look down the hole. I did tape
these joins right after the picture. They won't be accessible
again. |
|
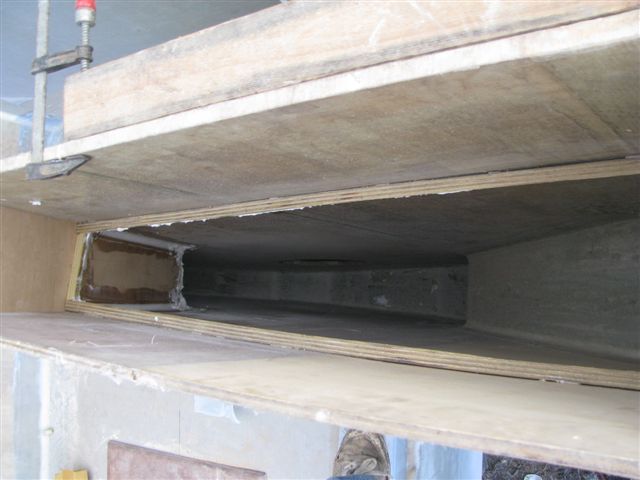
With glue mix covering the sticks, I
insert the decking and weight it down. |
 |
This piece of fine pine was filched
from Malcolm Salisbury's shed. Better than can be gotten anymore.
It will be the supporting member for the main sheet track. After
the top is buttoned on all that will be covered in glass. You
can now see the hole that will access the area. I have port lights
to fit. |
 |
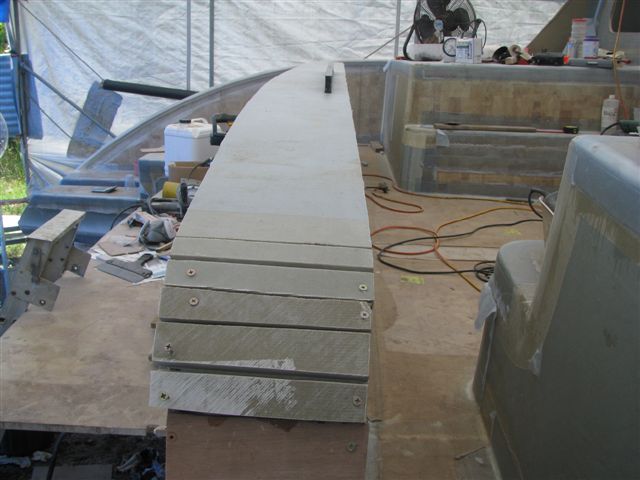
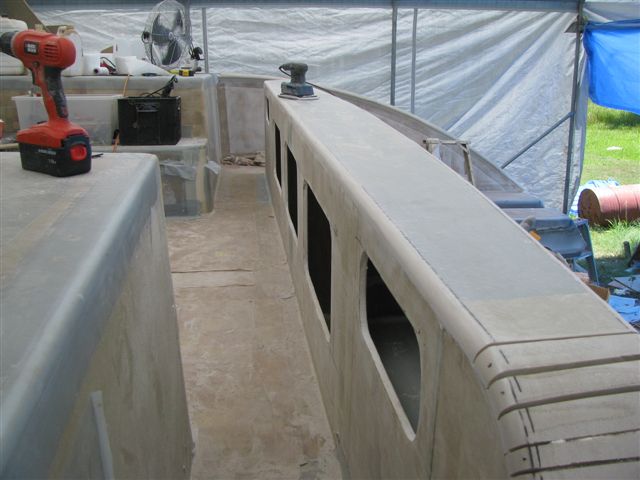
All the access holes have been cut on
the forward side of the beam so now the clamps can be moved away
from the top edge. The pine has been covered in glue mix. You
can see the decking finalised in this shot, with peel ply over
the tapes. |
 |
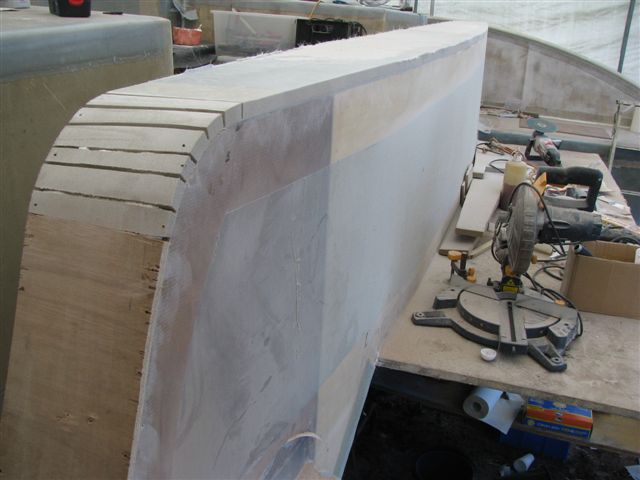
The 20mm decking is foam laminated with
800gram DB both sides. It was glued and weighted down, glue now
set and bricks removed. On the curved sides, the temporary screws
are ready to be pulled so the lot can be faired. |
 |
All the edges cleaned off. |
|
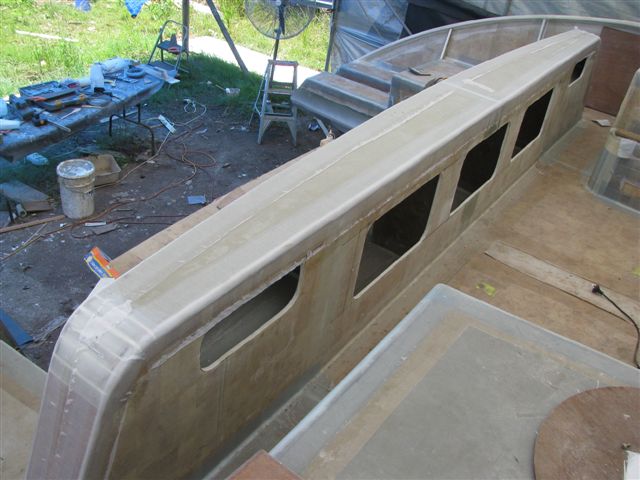
And sanding work done. Now you can see
the holes for hatches and lights. |
|
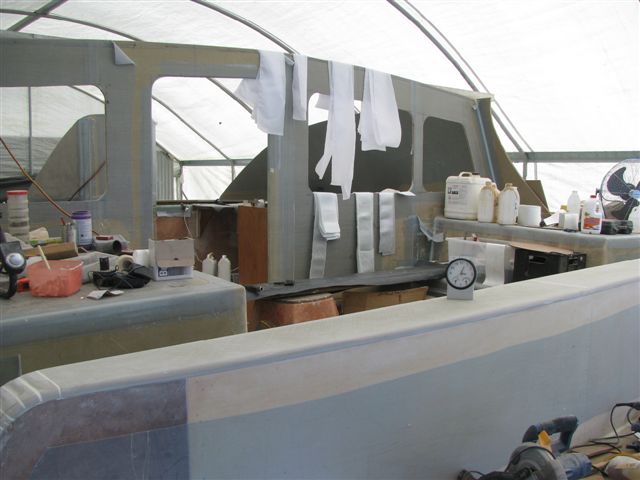
All materials prepared. Wetting table
ready |
|
and finished, at least for now. |