|
Lessons
learned.. Epoxy and I have something in common... We both hate
cold and wet!!
This was a period of hard lessons learned.
I ended last cycle with one hull inverted and the other nearly
ready to flip. I really expected to have both bums done and the
two hulls joined with the bridge deck in place by now but it
didn't happen that way.
So the progress of the hulls was slower
than I like but the knowledge gained on this cycle exceeded expectations.
(Glass half full!)
I had the inverted hull in the shed with
the aft end protruding just out the door where it was covered
with tarps. The other hull was still in the female forms in the
tent. The plan was to bring the hull in the shed to primer paint
and then flip the other and do the same. Then re-flip them and
tow the starboard hull in the shed out to the tent and position
with supports and stick on the assembled bridge deck. Yeah, that
was the plan…
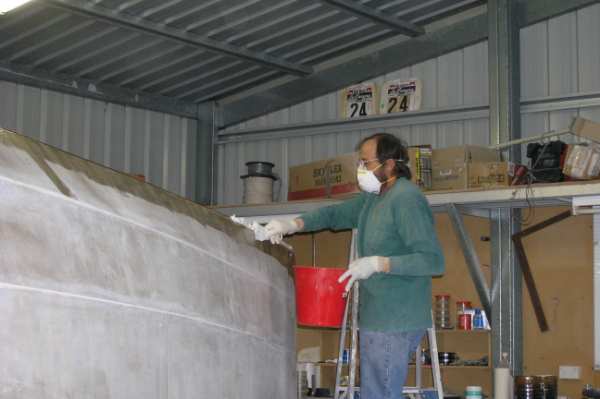
Hard lesson # 1.
Epoxy hates wet cold weather.... I was laying up tape joints
on the chines and it was going well. The day was a little cool
but not bad and I was working in the shed anyway. I had done
the prep work of sanding the edges to round them off a bit and
cleaned up my mess. Then I did 2 full length tapes, one after
the other, and the result looked very good. Actually the cool
weather worked out pretty good as I got a little more 'open time'
so could be especially careful of consolidating the joint, making
sure there were no air bubbles on the edges or other niggling
little blemish. The problem began as soon as I was wrapping up
the days work. I could feel the temperature dropping as I cleaned
up and by the time it was beer thirty it started to drizzle ...
hmm No problem. I had the aft section enclosed in more tarps
in a few minutes and went back to my beer.
Sixty mm of rain with 30+ knots of wind
that night and cold as a witches tit, and I'm told that is really
cold. The damage was apparent the next morning when I checked
the previous days work. The epoxy nearer the stern that was facing
the tarps had a distinct colour of milk and was struggling to
go off. A swag of heaters and a shiny new heat gun were put to
work and may have made a wee bit of difference over the next
several days. That was the opening salvo of a weather system
that brought us the coldest and wettest season in over twenty
years. Which brings me to....
Hard lesson # 2
When selecting the site for a temporary shelter, study the geography
and consider that before anything else. As I write this it has
been clear now for over a week but in my tent, now known as "The
Swamp" the ground is still mush and there is mould covering
some of the plywood forms. I had inadvertently placed the tent
in line with a natural drainage system that was not obvious in
dry conditions. Until that all dries out the tent is a toxic
environment for epoxy. (see Hard Lesson # 1)
So what to do.. I talked to a couple people
who's experience was greater than mine.. well much greater than
mine... Randall of Gypsy Marine up in Vietnam said he thought
I might be able to get away with it but to tent the thing to
dry her out and bring it up to 50 degrees before painting. Steve
Jant of SPJ Yachts opinion was "if in doubt, cut it out".
I didn't EVEN want to hear that! The next joint was going to
overlap the contaminated one so rather than take a chance of
burying the trouble further I cut out the worst of it and I think
it is OK. I do think Randall has a good point about the painting
though. I won't put on paint until I get a run of dry weather
and can heat the shed. But the next #$%&!@#$ that tells me
"we really needed that rain" is going to die!
Hard lesson # 3
Make sure you know what is in that pile of materials that came
with the kit before you use the stuff! I had been using ATL resin
and hardener which was working very well. I ran out of a batch
and went for another and.. what is this? "Super fast"
hardener! Even in cool weather this was too much for doing big
jobs. Is it me? I contacted Bill Brosnan who has built an epoxy
boat and asked him about it. He said, "I remember using
fast hardener... once. Never rushed so much in all my life. Although
I know people just south of Hobart that use it all the time during
winter. Mind you, they have to microwave it first to get it to
flow!"
No problem, just order up another batch of the "medium"
that I was used to but...
Hard lesson # 4
Fuel costs have driven truckies to the wall. As hardener is classified
as "dangerous goods" it further complicates the matter
so the two day delivery schedule turned into a week... the only
dry warm week of the whole bloody month!
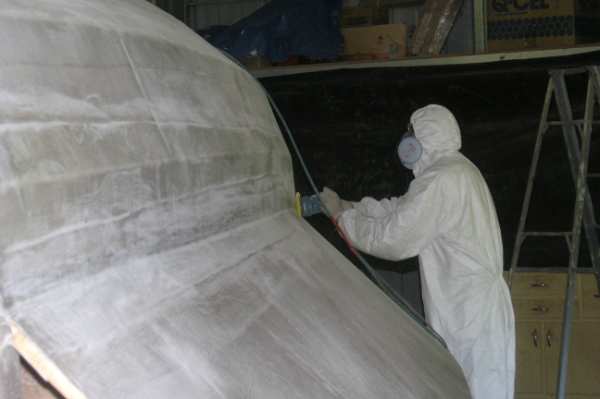
To prevent more trouble I did what I should
have done a month earlier. I shoved the hull further inside the
shed so I could roll the door closed. It's cramped working but...
With the shed buttoned up and avoiding the worst rain periods
I was able to finish the tape joints and cover the plywood I
had applied to the keel panel as a grounding buffer, with two
layers of fibre glass. One layer of 435 gram db cut to the shape
inside the tape joints already done and then another layer that
covered the lot all the way to the second chine. This will add
a little weight to the hull but I do want a beachable cat. I've
seen what happens when a skipper beaches a boat in ways not intended
by the builder and it's not nice.
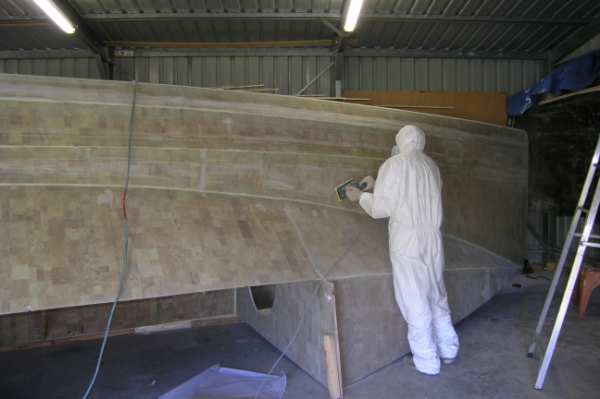
Hard lesson # 5
The best way to build an epoxy boat is to do it continuously,
start to finish, wet on wet! OK, so not entirely possible for
a home builder but it's a good idea to keep in mind. When I did
the layers over the keel panel I did do them wet on wet, same
day but by the end of it I was pretty tired. I couldn't cover
it all with peel ply, the nylon cloth that is applied onto wet
epoxy so that when it sets the cloth is peeled away taking the
"amine blush" with it and leaving a surface rough enough
to take subsequent work. "Amine blush" is the residue
that comes to the top of epoxy as it sets. It is especially rich
in moist conditions. Epoxy that is applied over an area of blush
won't stick well. I sanded back the whole bloody bum but the
fabric had enough texture that in recess's you could still see
that shiny surface... I called Dave Clifford (It's great to know
so many knowledgeable people!) and asked him if I could get away
with it.. nope.. so I also washed the whole thing whilst scrubbing
with a Scotchbrite pad. The blush is water soluble. Dave doesn't
like peel ply. His method is to cover the fibre glass with bogg
right away even if it means working 18 hours straight. He reckons
you have to sand the bogg anyway and it is easier to sand than
glass. Besides the labour savings this insures a good bond between
layers.
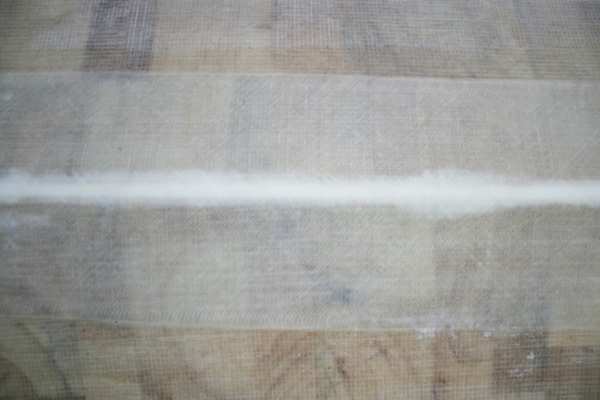
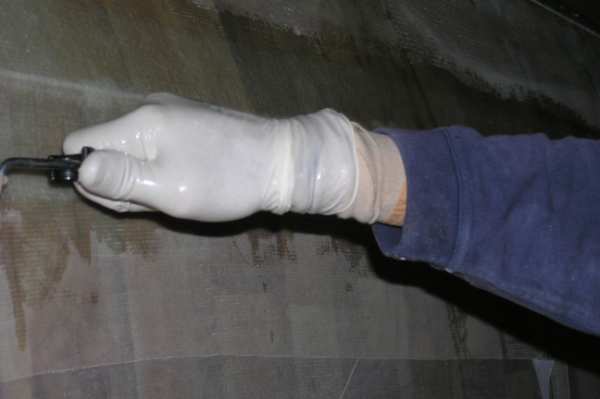
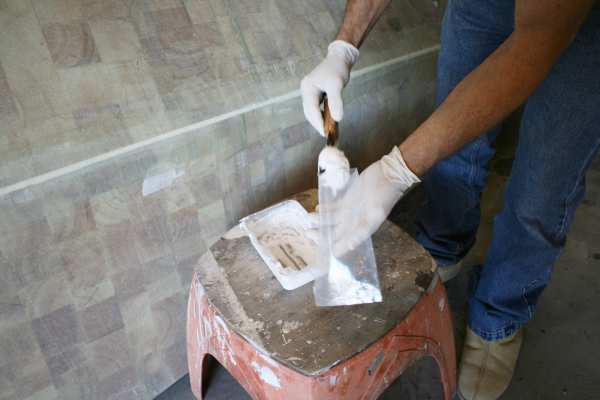
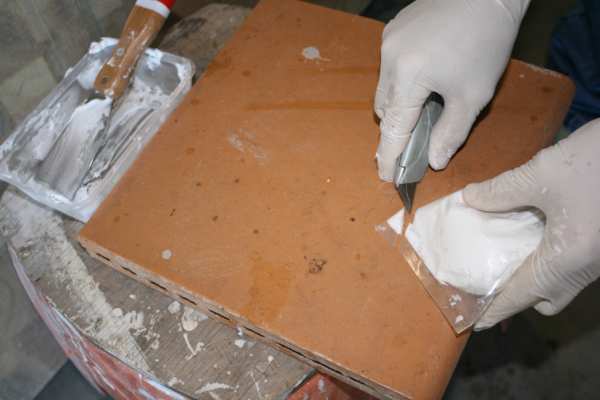
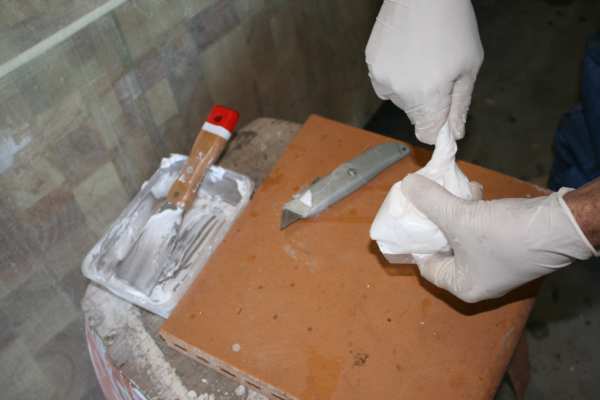
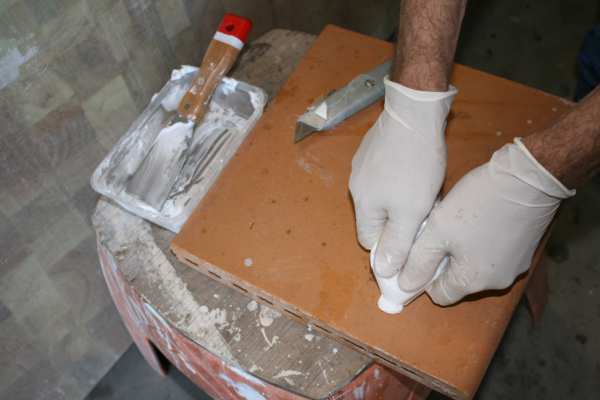
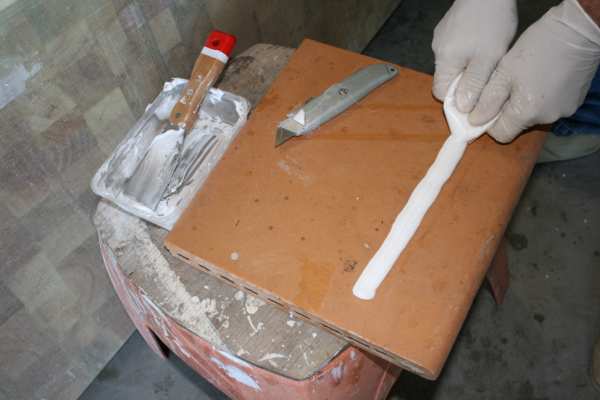
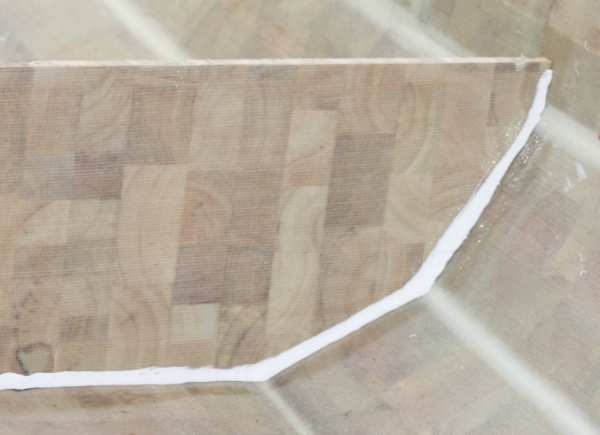
Good lesson # 1
There has to be at least one good trick learned per cycle.. I
had thought about trying a cake decorating tool for applying
bogg for filleting but couldn't find a store in Hervey Bay that
had one! Figures… Leon of Tykahele boats in T'ville said
I should try just a zip-lock bag with a corner cut off but actually
I had a better bag to try. Back in another life (I've had a surprising
variety of lives..) I sold Lightning Ridge Opal delivered in
heat sealed plastic bags. They are perfect shape and heavy duty.
The first panel I tried was a bulkhead and I reckoned the bag
cut the time to a fraction and made the job tidier.
I regret I didn't get more photos this
time. When doing the glass over the keel panel I would not allow
my partner up there and I just couldn't interrupt the flow to
do them myself. For the bogg bag that Leon figures he has a copyright
on and calls a "sprong", I got some demo photos made
that are with this article.
So that is where I am. One hull ready to
bogg, all sanded and washed and DRIED! The other ignored until
this climate change I've been promised happens or until I can
put it in the shed.
Was this time a waste? Absolutely not!!
It has been frustrating not seeing the progress but what I have
learned in the last month will have a profound effect on the
rest of the project. I will be ordering (with plenty of lead
time) some SLOW hardener as I don't see any virtue in the fast.
It may be handy on occasion but certainly not essential.
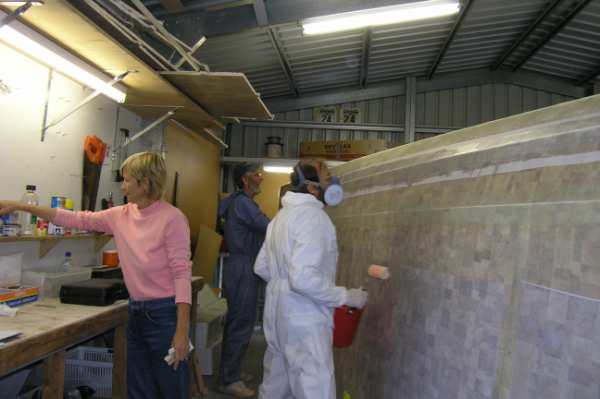
I certainly have a list of people to thank.
Besides those mentioned above, Frank and Jane of SY Escondido
were over on many occasions to help which was appreciated but
mostly I enjoyed the company. We listened to much good rock and
roll and blues. I know you are "supposed to suffer"
for your boat and I'm sure I will do my share... but not today!
.
.
.
.
.
.
..
.
.
.
.
.
.
.
.
.
.
. |